Can you take good photos with iPhone?
This is one of the most popular questions we receive as professional portrait photographers. We all want to take good photos of our family and friends, but not all of us want to spend an extra $500 ~ $5000 on camera gear.
Luckily for all of us, cellphone cameras have majorly advanced, and the answer is a strong YES! For many of us, the camera in our pocket - our cell phone - is already good enough to take great photos. With just a little learning about lighting and composition and careful background selection, you can take camera-level photos with your iPhone!
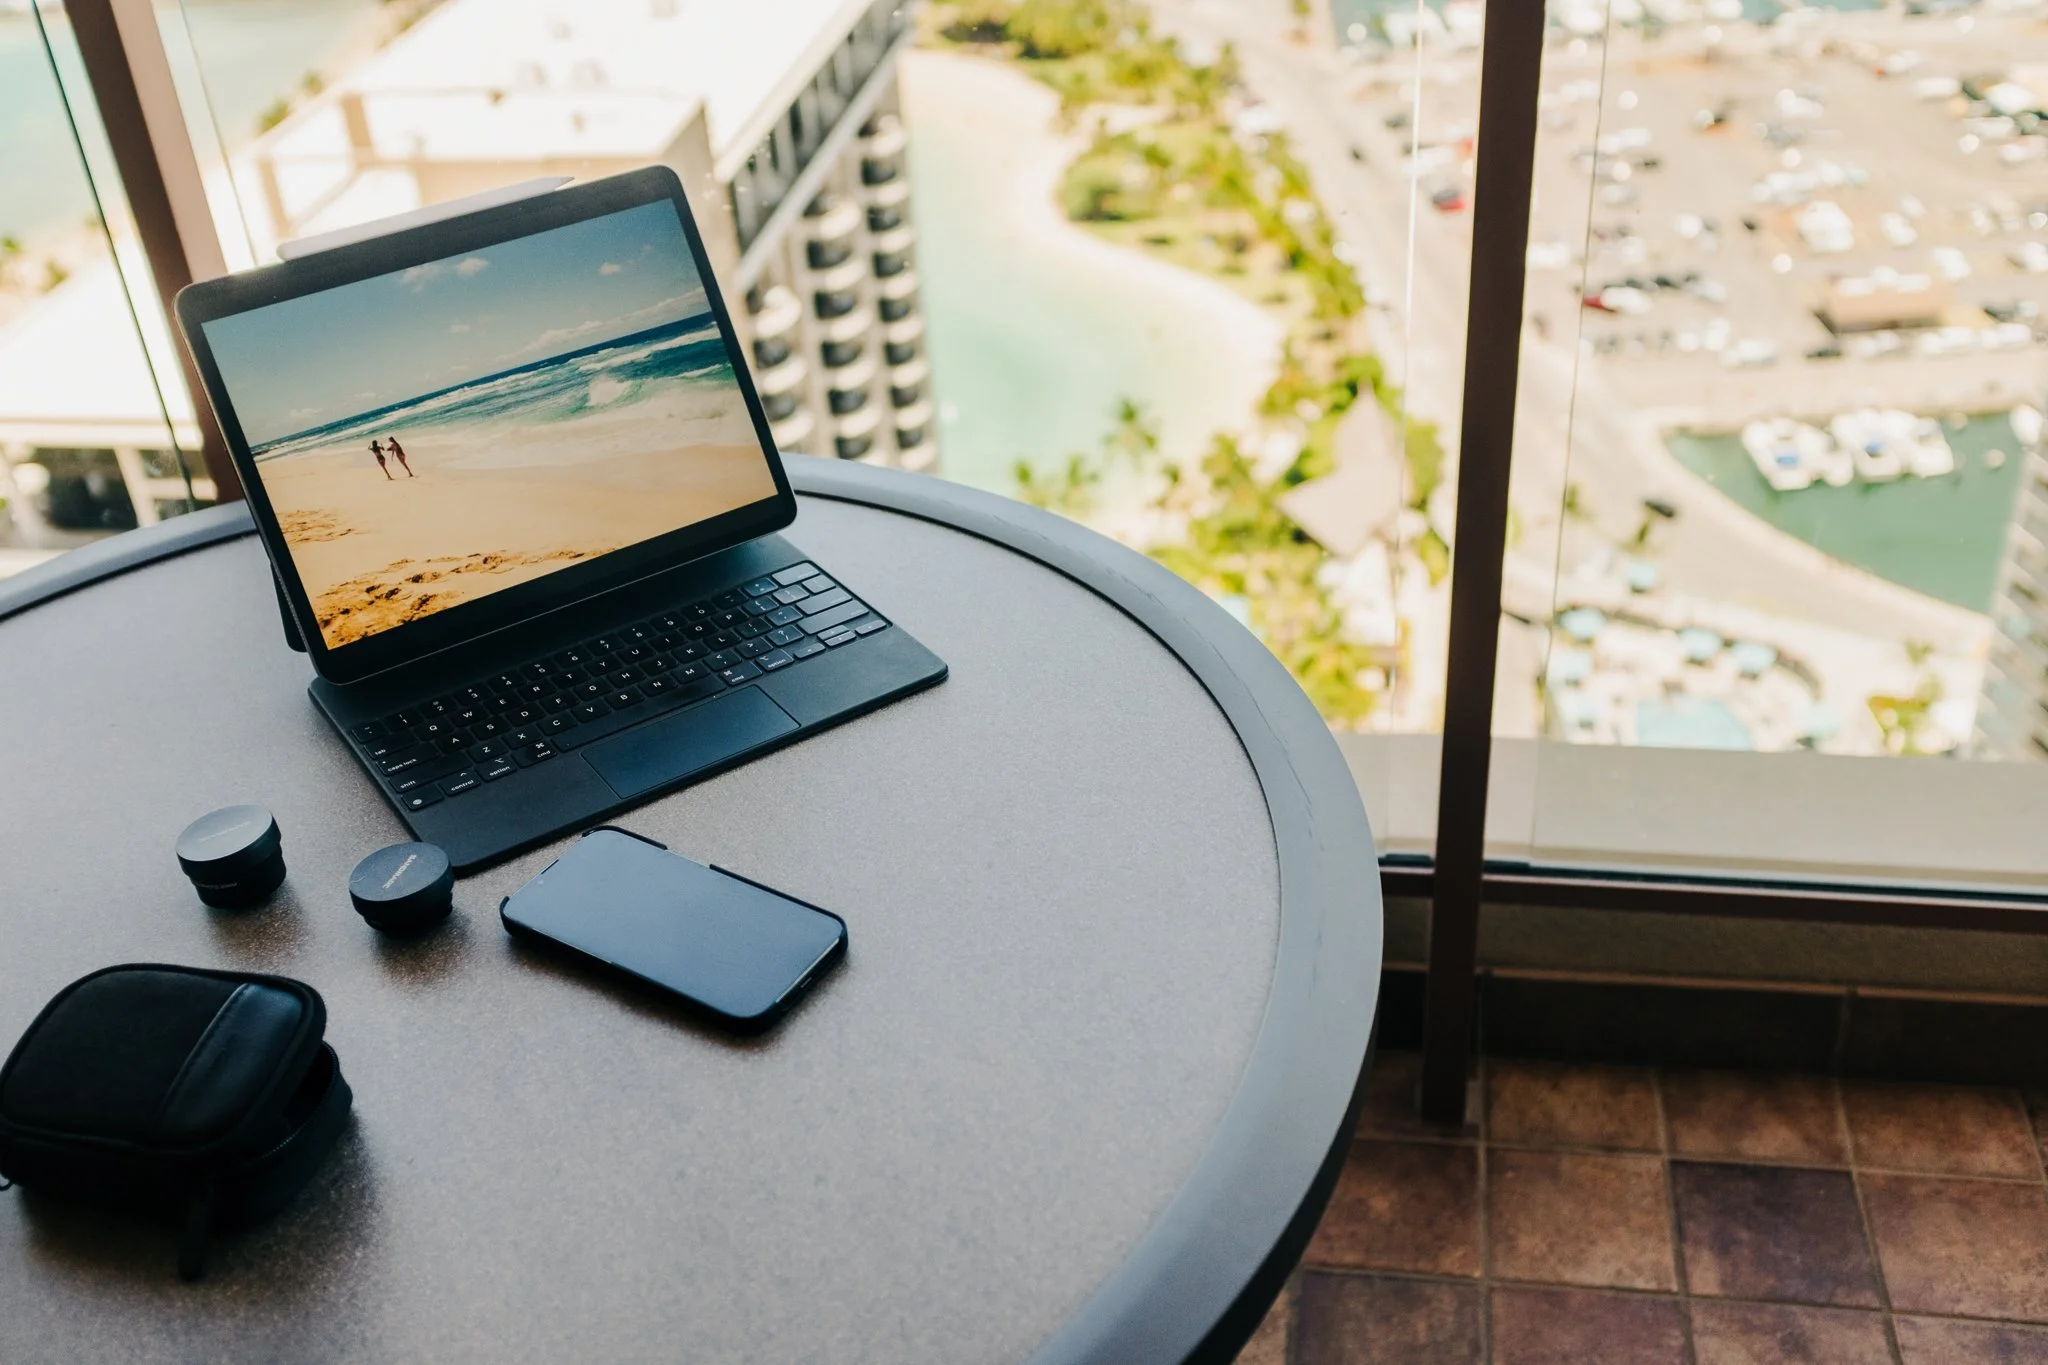
One really helpful option for cell phone photography that can help you expand your creativity are attachment lenses. What I like about attachment lenses is that they can give you completely different looks. Also, as a bonus, they make me want to take more photos!
Sandmarc Lenses
I reviewed the Sandmarc telephoto lens (a lens suitable for iPhone portrait photography). This time, they were kind enough to send me their anamorphic lens for a review. If you have never heard of Sandmarc, I really like this company because they create products that encourage people to enjoy photography and its creative process. After all, having fun while capturing memories is what photography is about for most of us.
Ok, back to the review.
I had no idea what anamorphic lens was until I talked to the people from Sandmarc. An anamorphic lens is commonly used to film movies. This lens squeezes the images horizontally, and when they are manually de-squeezed, they look longer horizontally like what we see at the cinema. Here is an example of the horizontal squeeze.
Before & After
Before any editing - notice that the image is squeezed to the center horizontally, leaving the subject extremely disproportionate.
Before any edits
After the edit
After the identical image was de-squeezed and edited - The image no longer looks squeezed horizontally, and instead looks really cinematic!
Learning curve
As I was learning to use this lens, the most challenging aspect was that I couldn't see the de-squeezed image on my photo app. Until the pictures were de-squeezed in Photoshop, I saw the squeezed version on my iPhone. This made it difficult for me to visualize the finished images until I got used to it. (It took me a few shoots to understand it but I was fine after that.)
This is also true if you use the iPhone camera app to take photos while using this lens. Unless you are good at visualization, I suggest using an app that allows you to see the de-squeezed version while taking photos.
Which Camera App to use?
Sandmarc recommended an app called "ProCam" from the app store. (At the time of this writing, it is $7.99.) This app is incredible, however, since it packs so many features, IMO the learning curve to understand how to use it is somewhat steeper than other camera apps I've used. I got lost trying to figure out how to get a de-squeezed view while taking photos. That said, this app seems to be a great candidate for those who want a camera app that does nearly everything.
Alternatively, I also used the "FirstLight" app (also $7.99 at the time of this writing) while I was testing this lens. Compared to ProCam, FirstLight does not seem to have nearly as many features. This ironically made the app more simple to navigate. I'd recommend checking out either app!
Portrait use
I am primarily a portrait photographer, so when looking at any photography tool, I am always interested in how I can use it with portrait photography.
First, this is the widest-angle lens I have ever used. Wide-angle lenses are typically not used for portrait photography as they distort the subjects. For example, if you fill your frame with the subject with this lens (a close-up), the photos look almost like fish-eye lens photos. This is no surprise for a wide-angle lens. What was surprising was that I enjoyed this distortion. It was fun to play with as a creative tool.
If you do not want too much distortion, you need to step back to include more scenery. Because of this, you need to consider your location options while using this lens. If you want to fill your frame with the subject with minimal distortion, I recommend the Sandmarc telephoto lens. I will show you the difference below.
iPhone 13 Pro + Sandmarc Anamorphic Lens
iPhone 13 Pro + Sandmarc Telephoto Lens
iPhone 13 Pro + Sandmarc Anamorphic Lens
iPhone 13 Pro + Sandmarc Telephoto Lens
In both, the image on the left is the one with the anamorphic lens, and the other one is with the telephoto lens. Notice the first images have significant distortion compared to the second ones. I like both images for different reasons. This is just something to keep in mind while using these lenses.
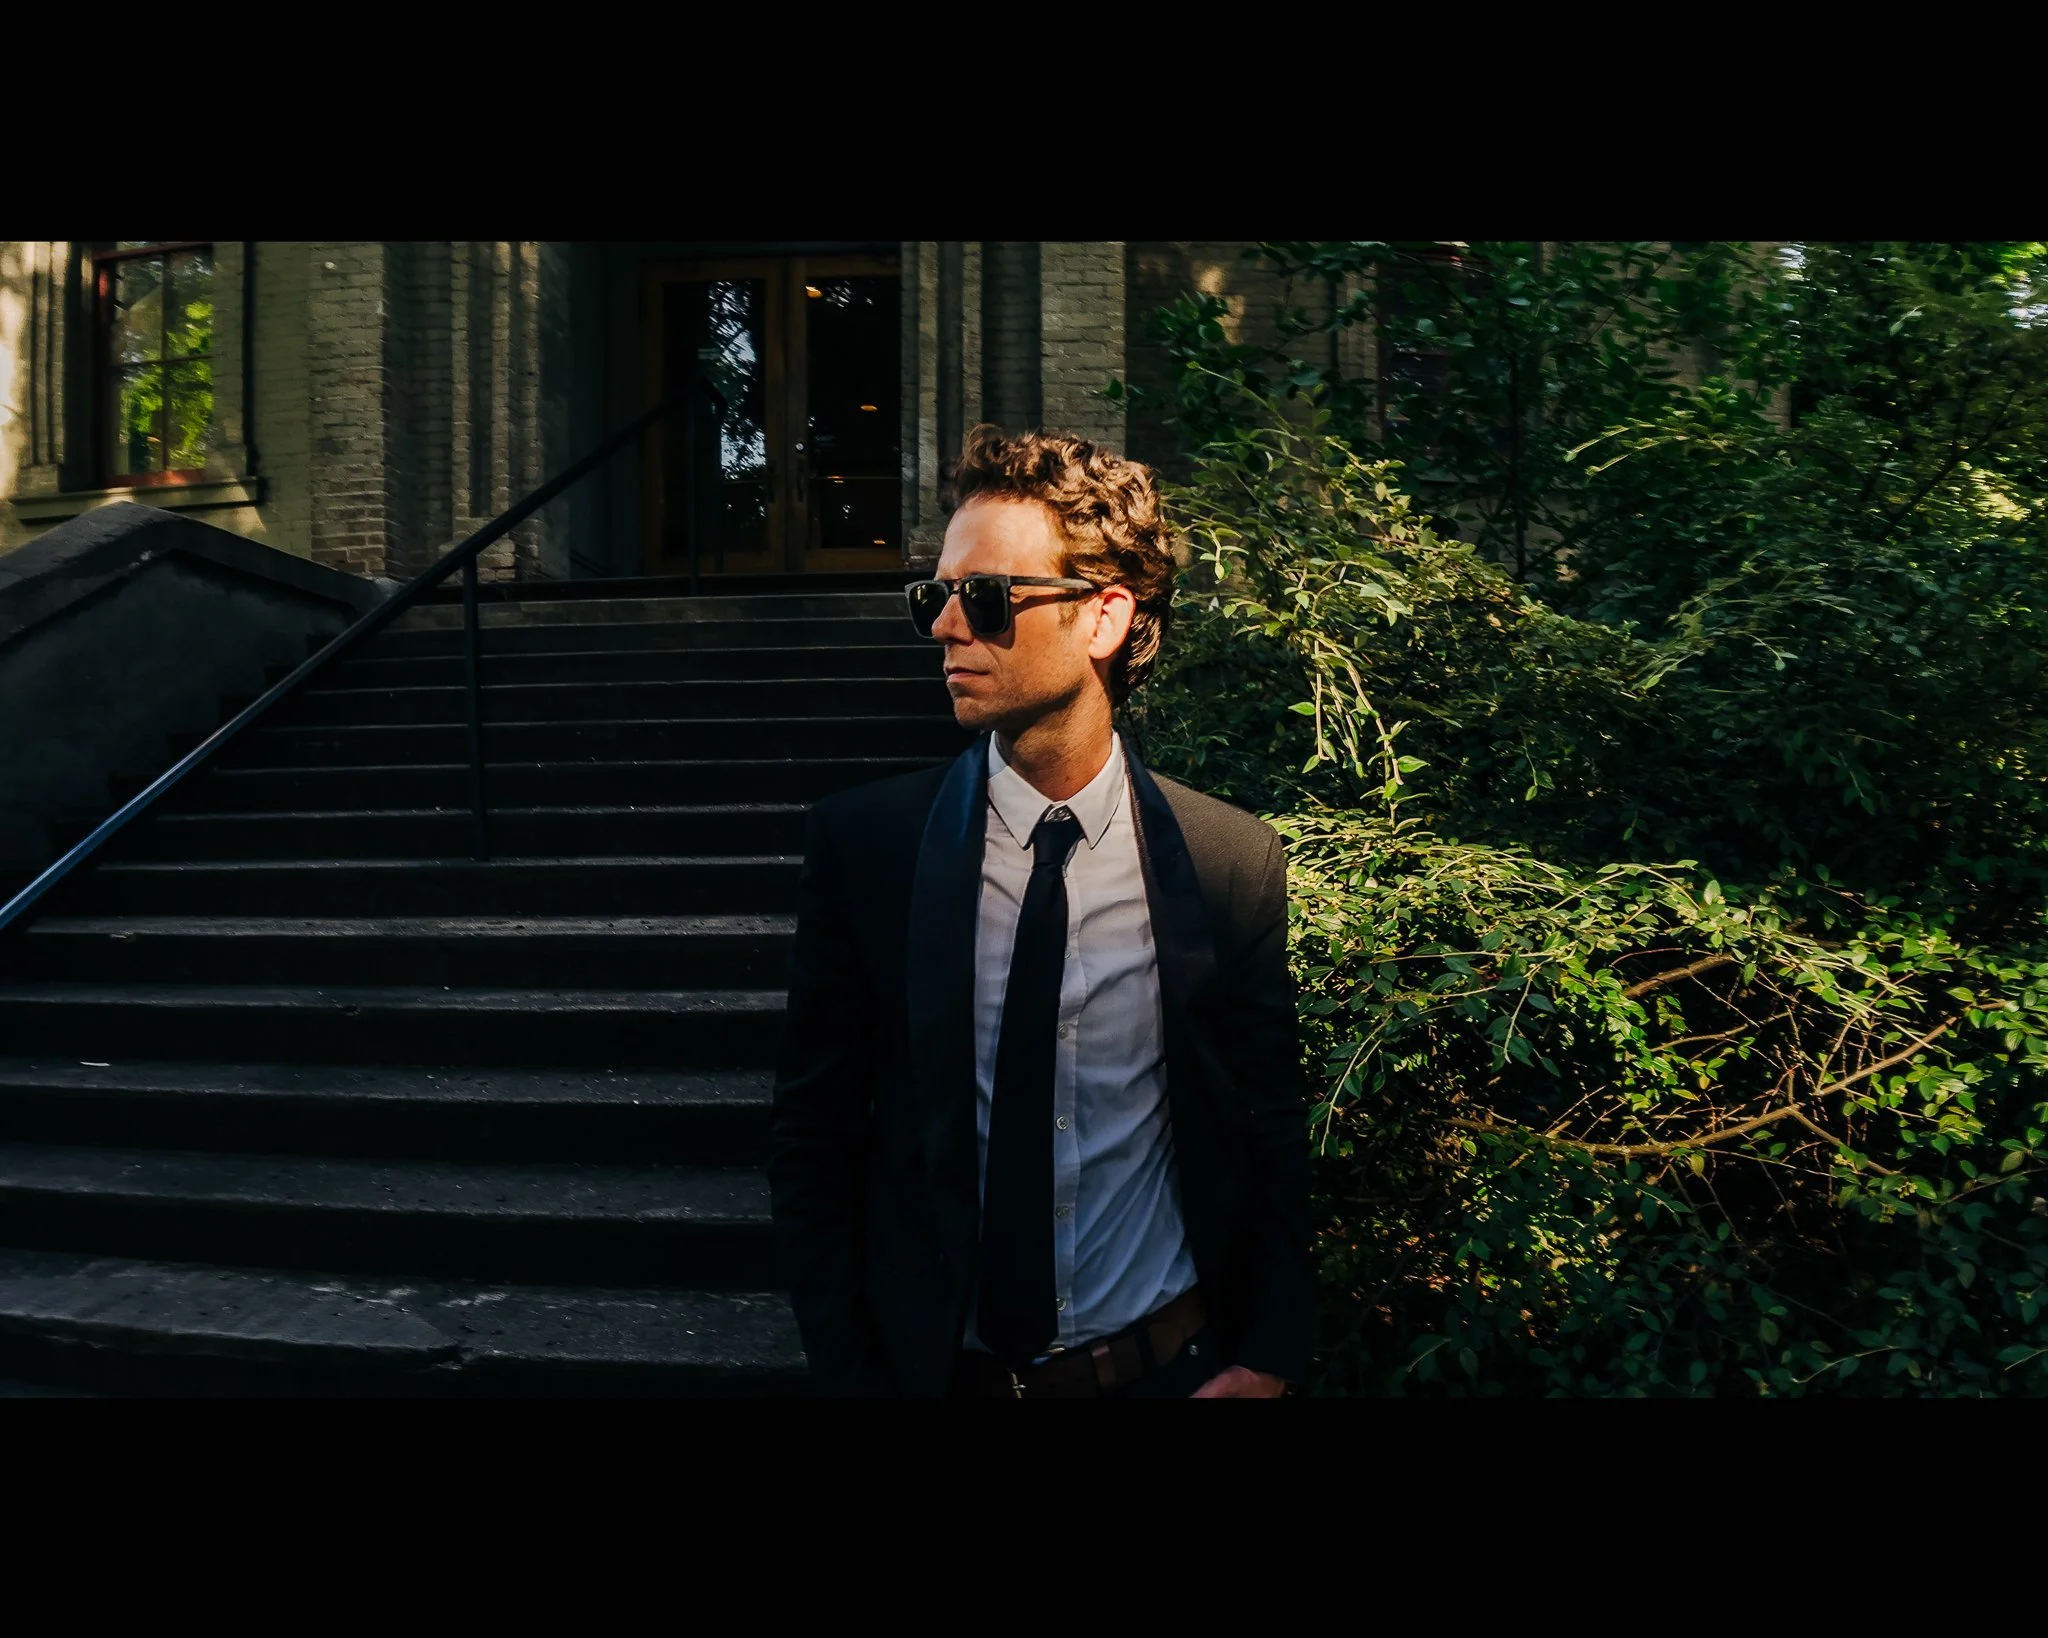
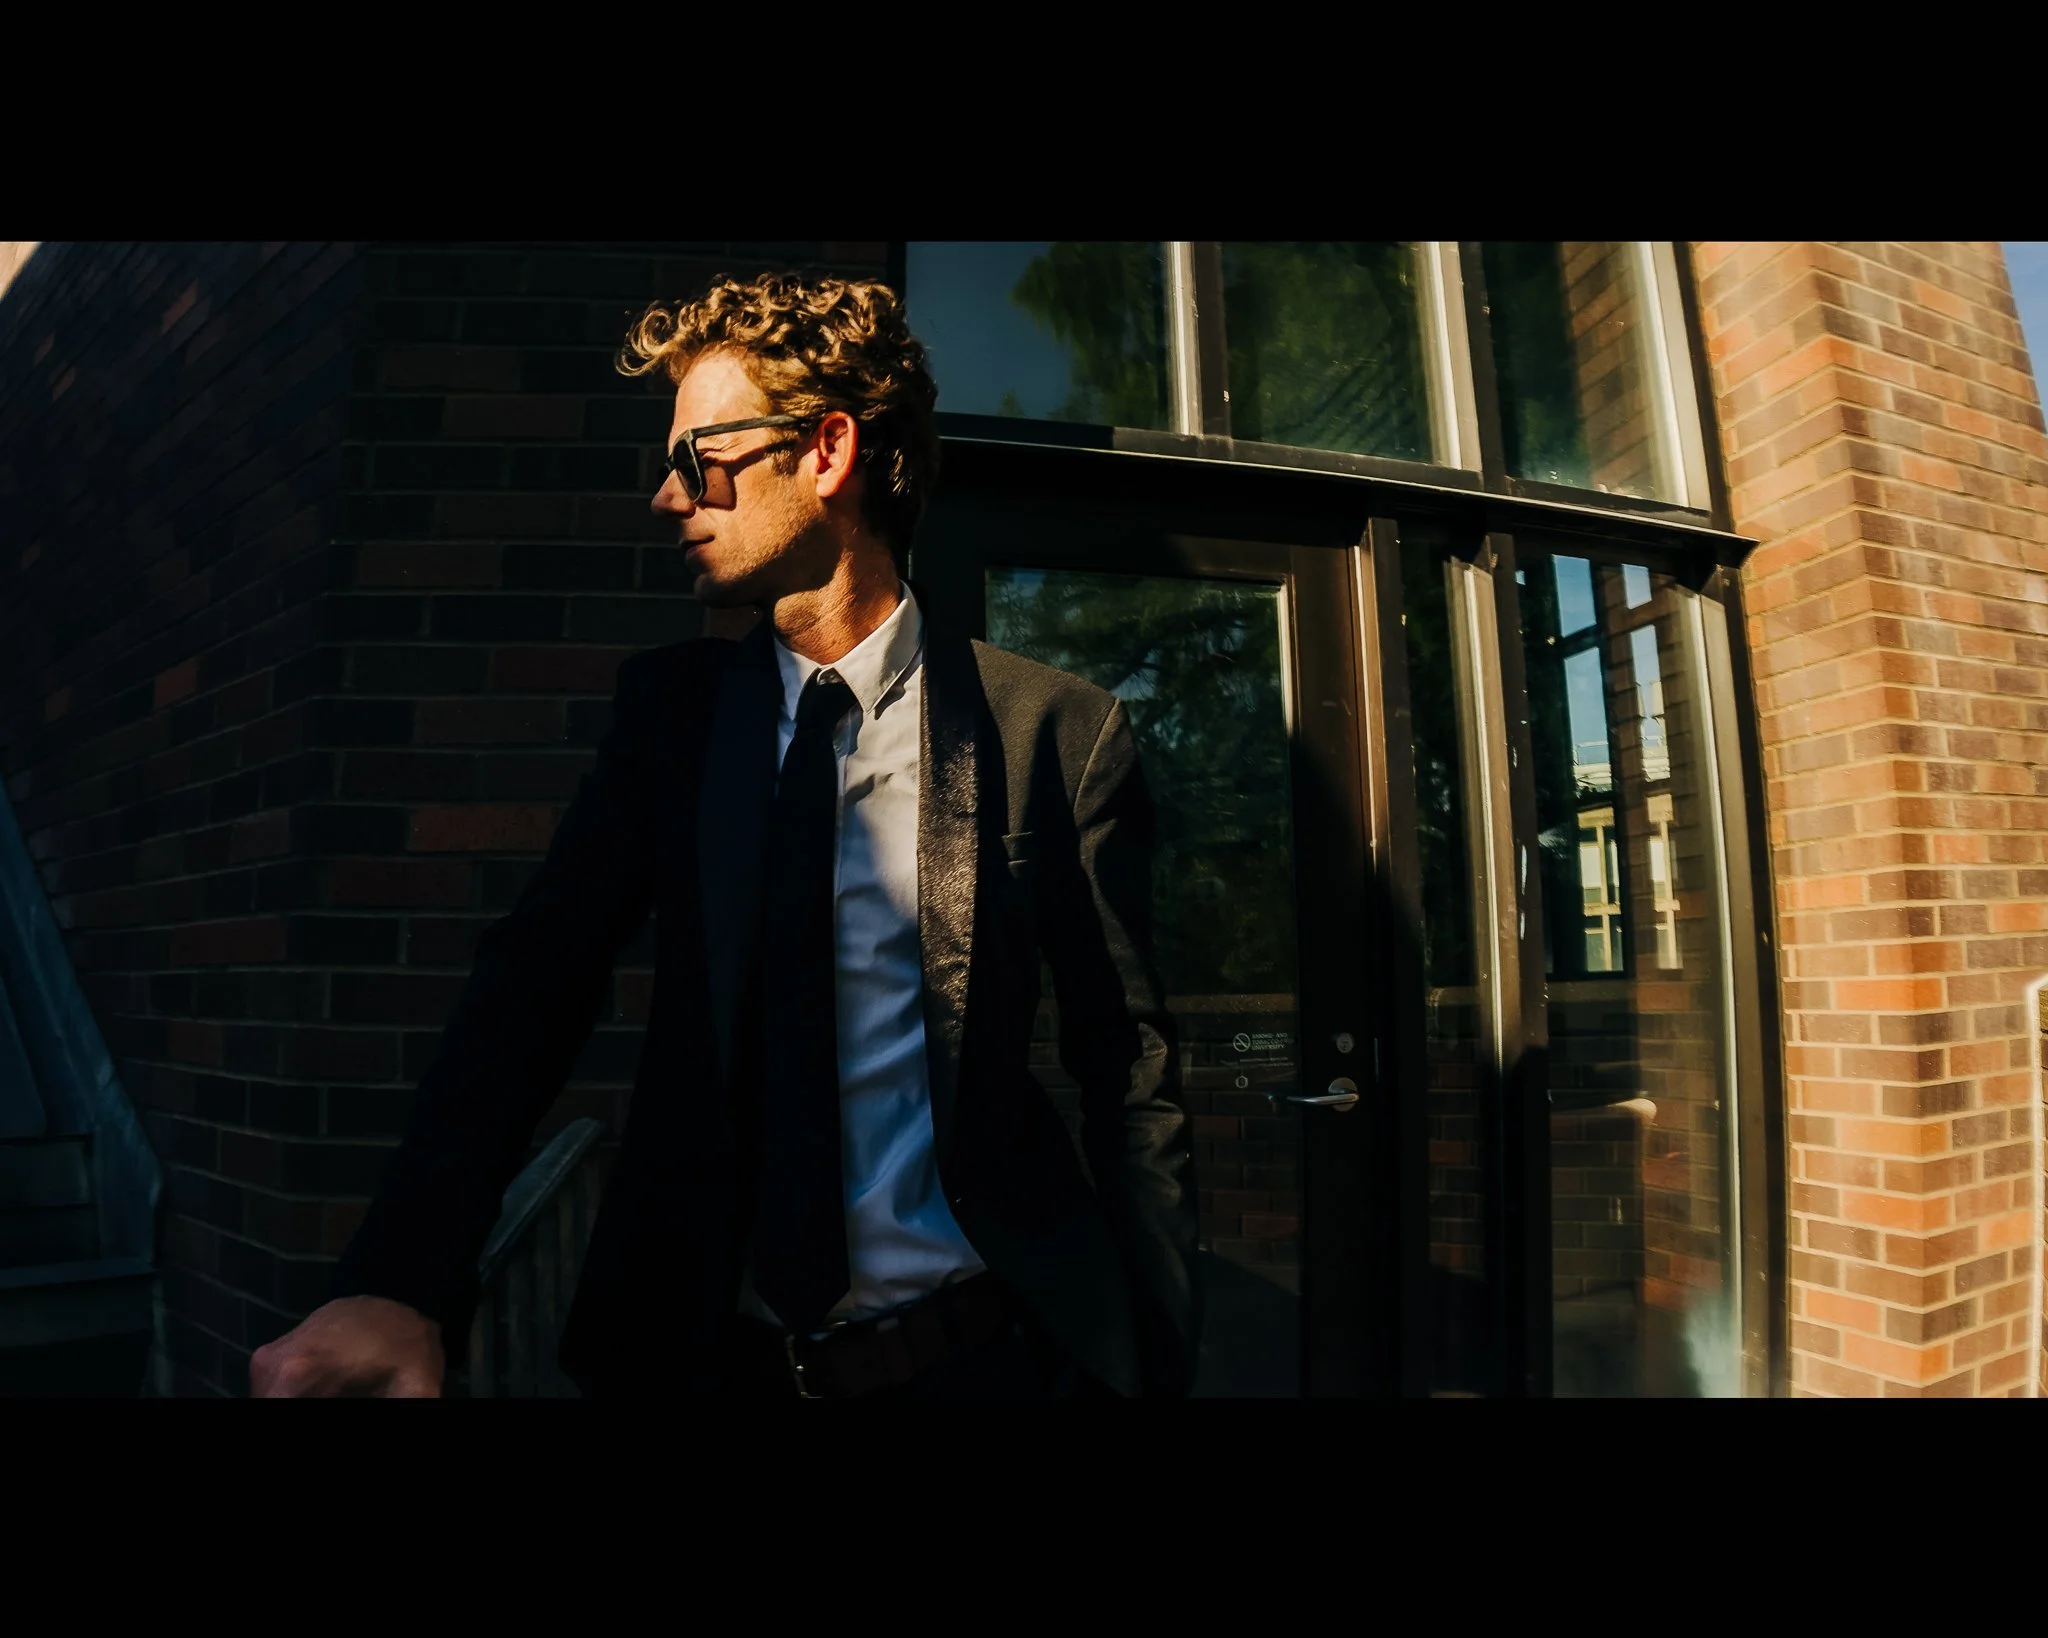
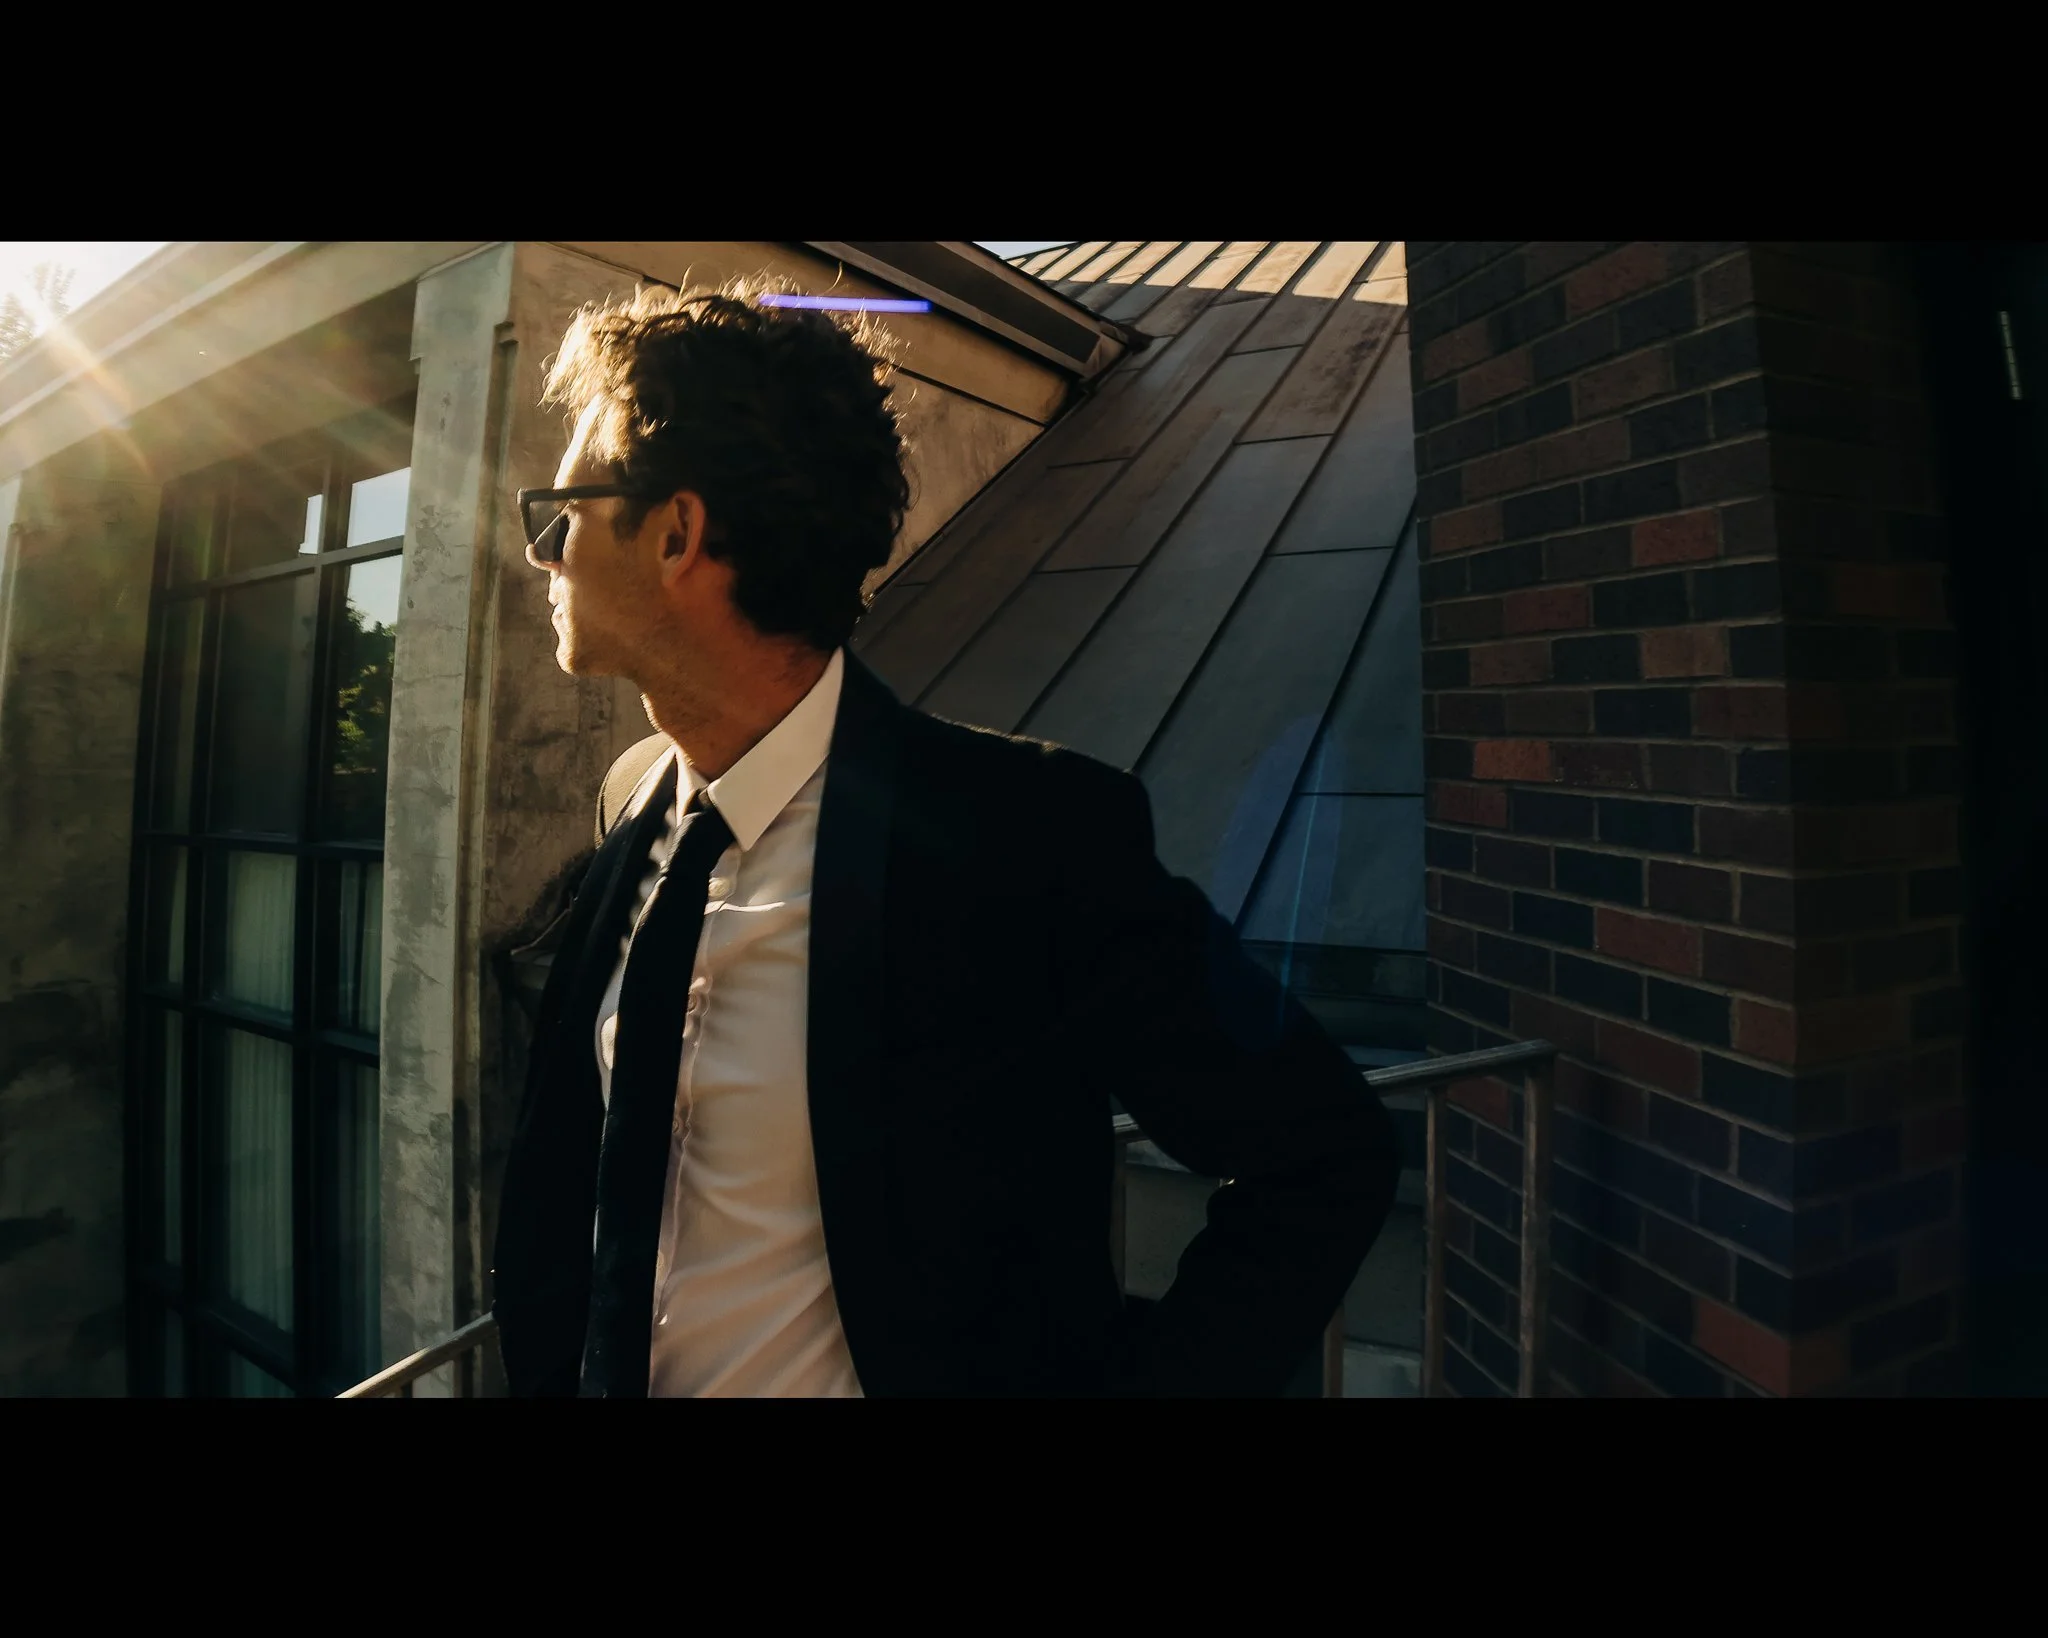
The anamorphic lens shines the most when including more of the surrounding scene, like the photos below. These are both shot on the iPhone 13 Pro with the Sandmarc anamorphic lens.
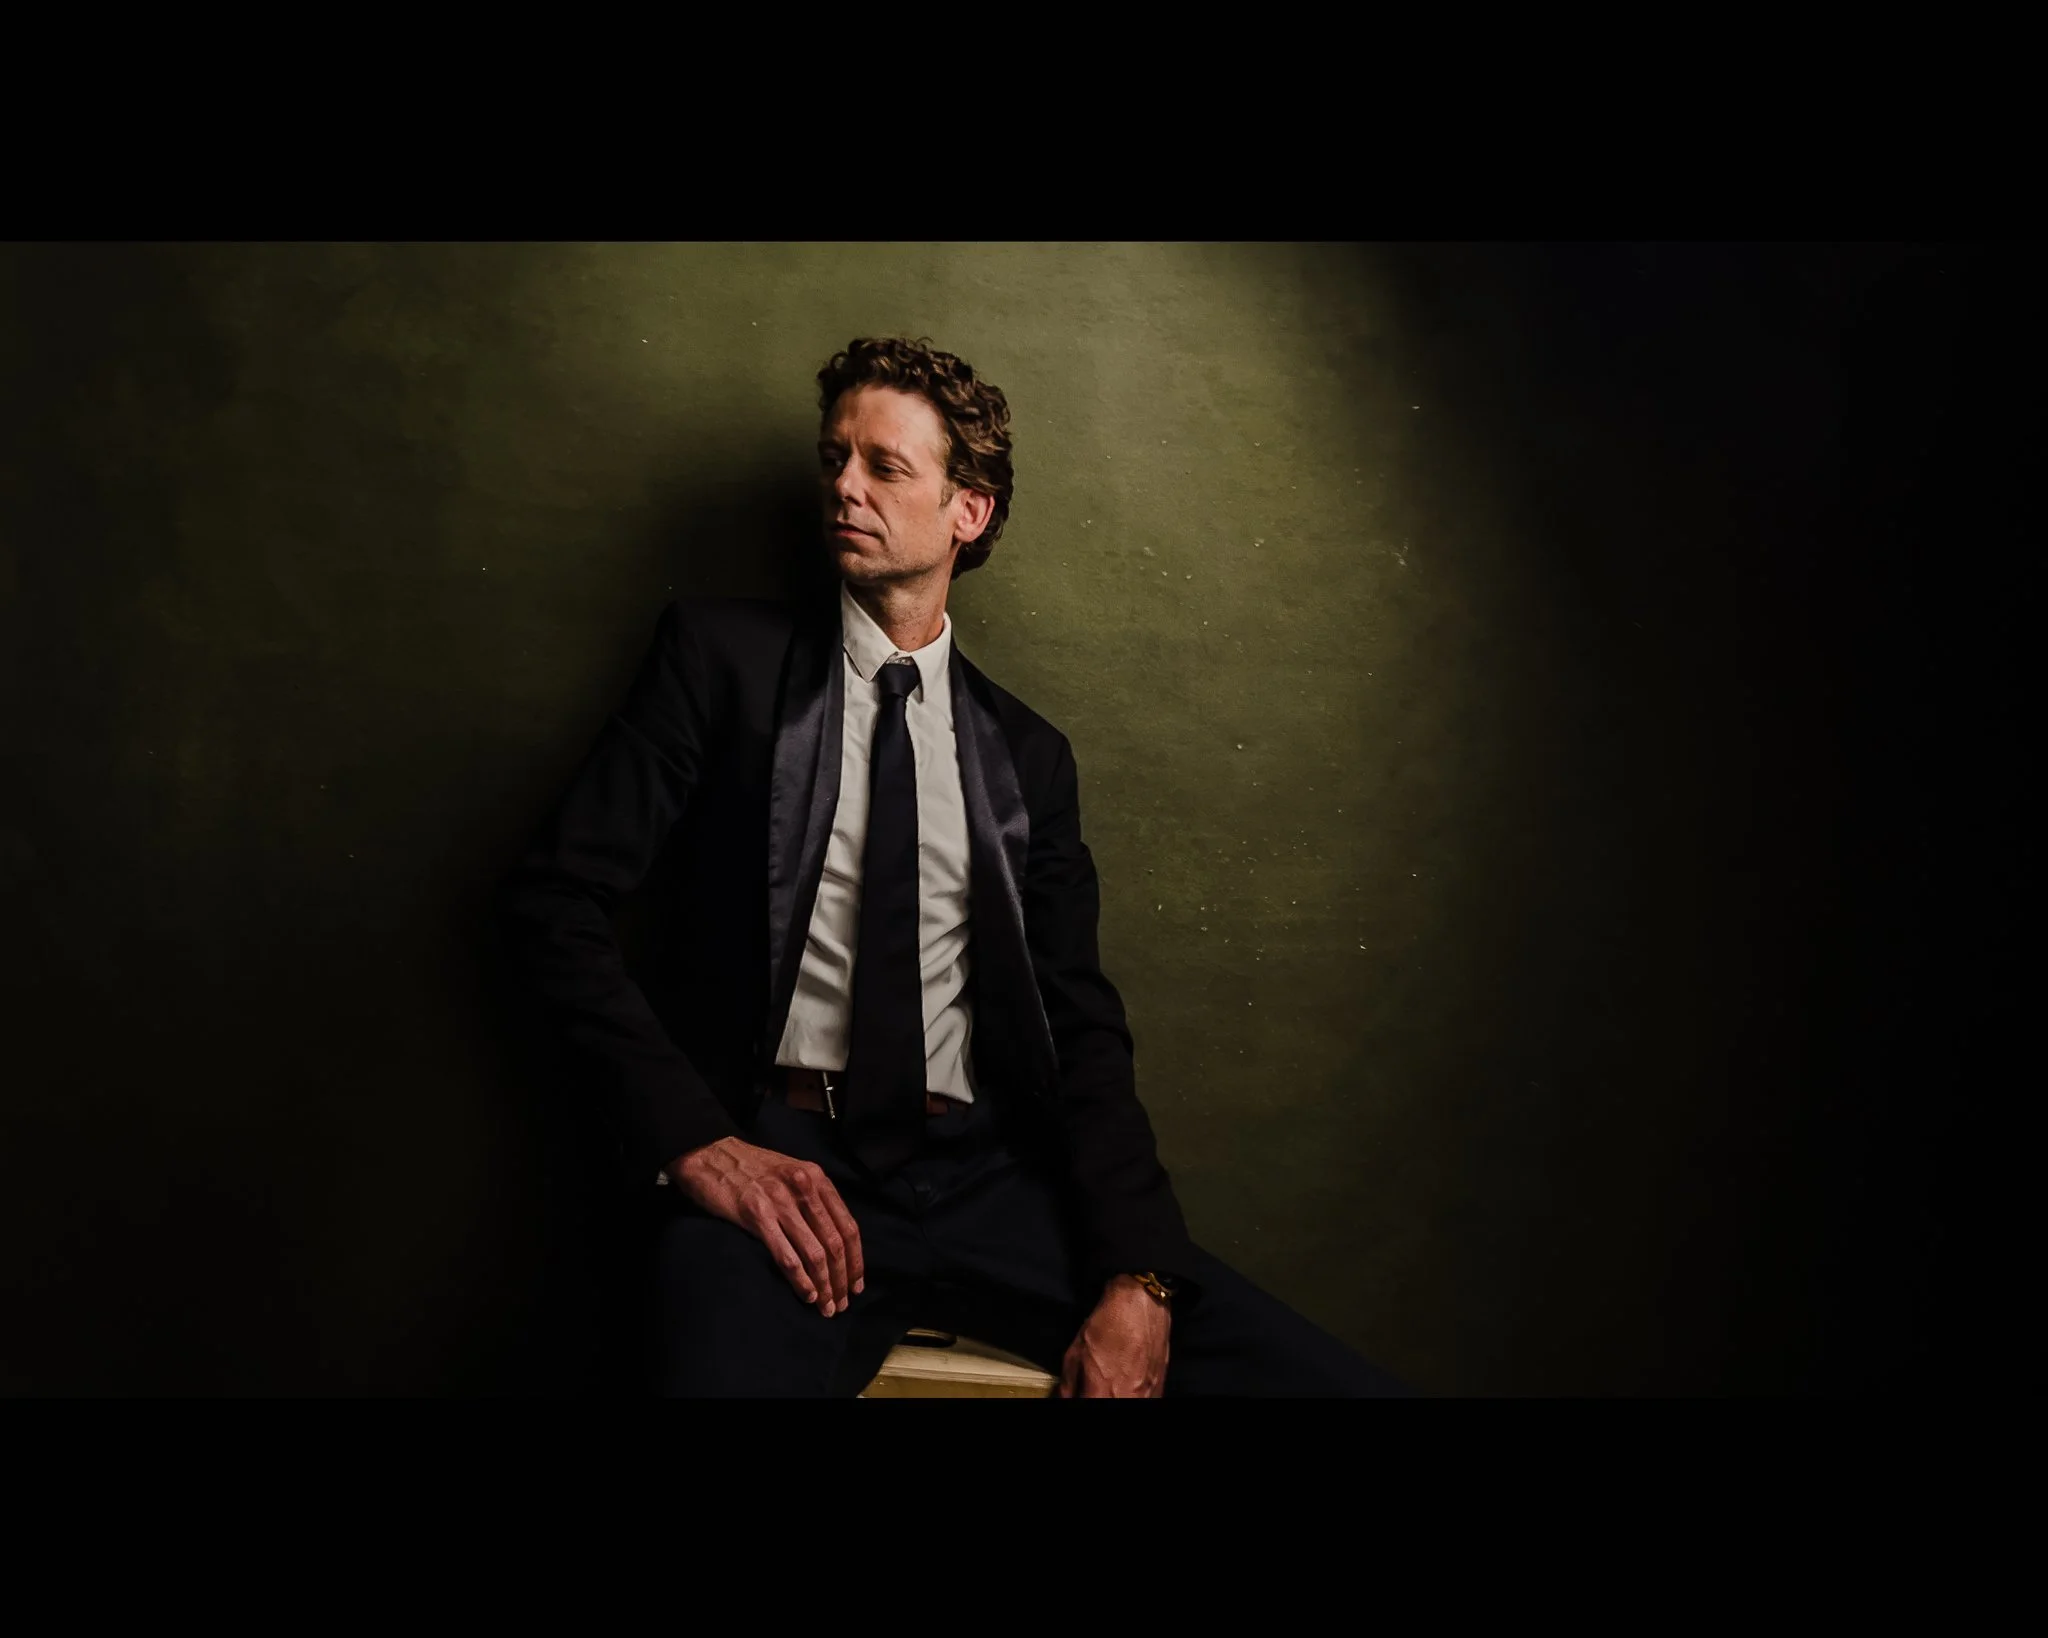
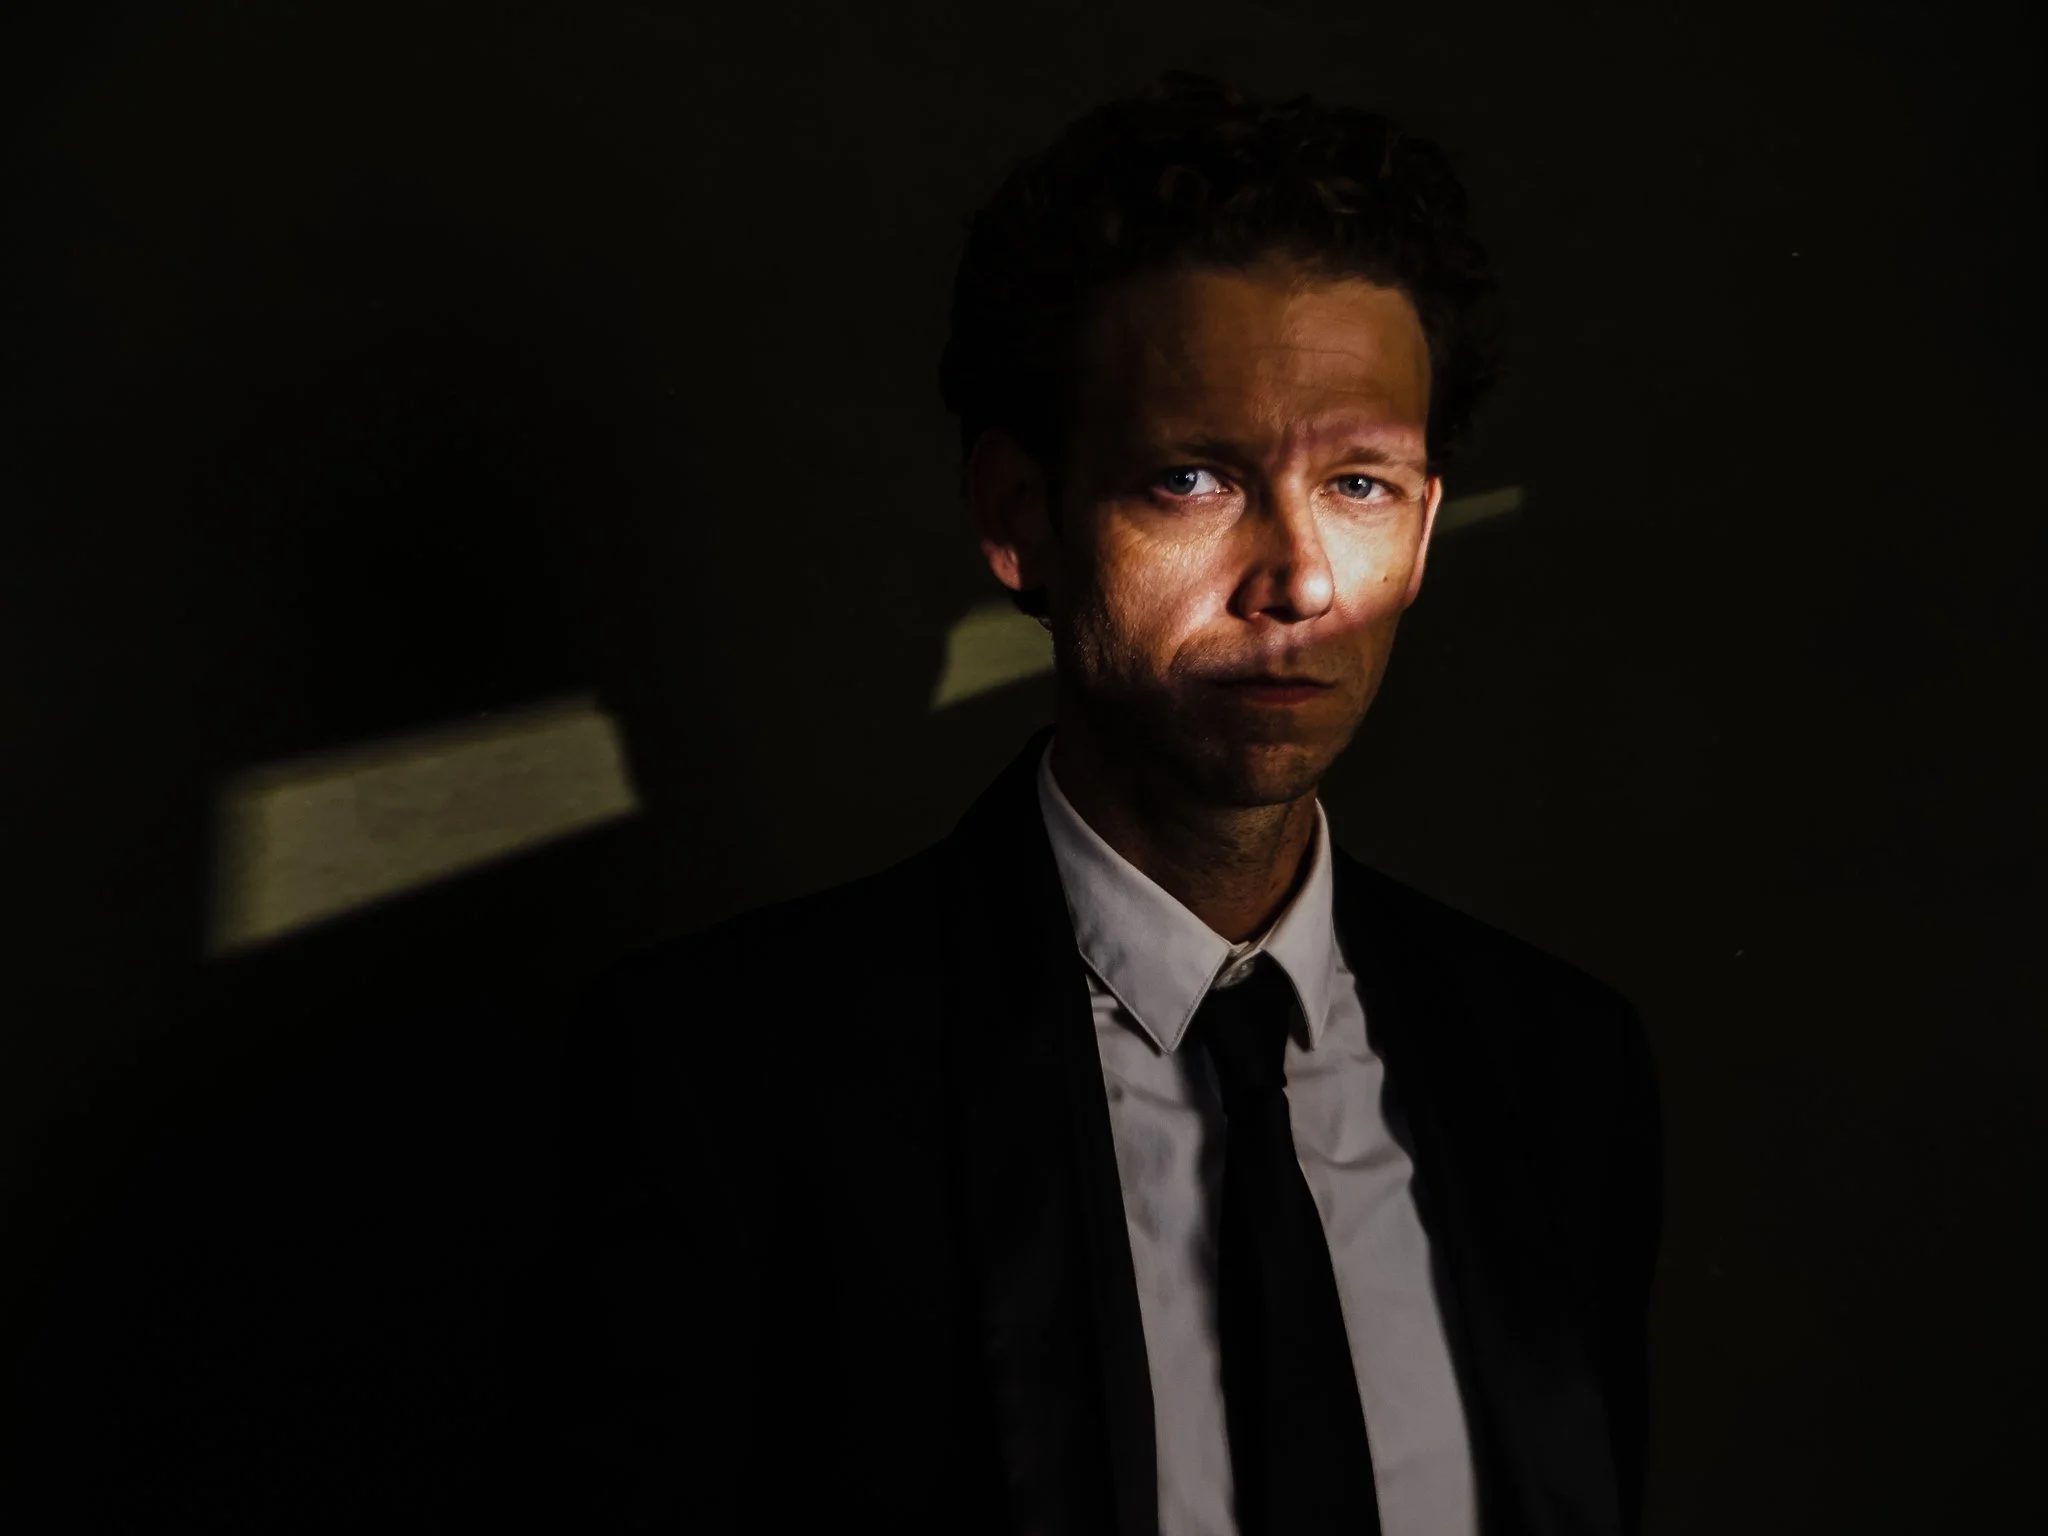
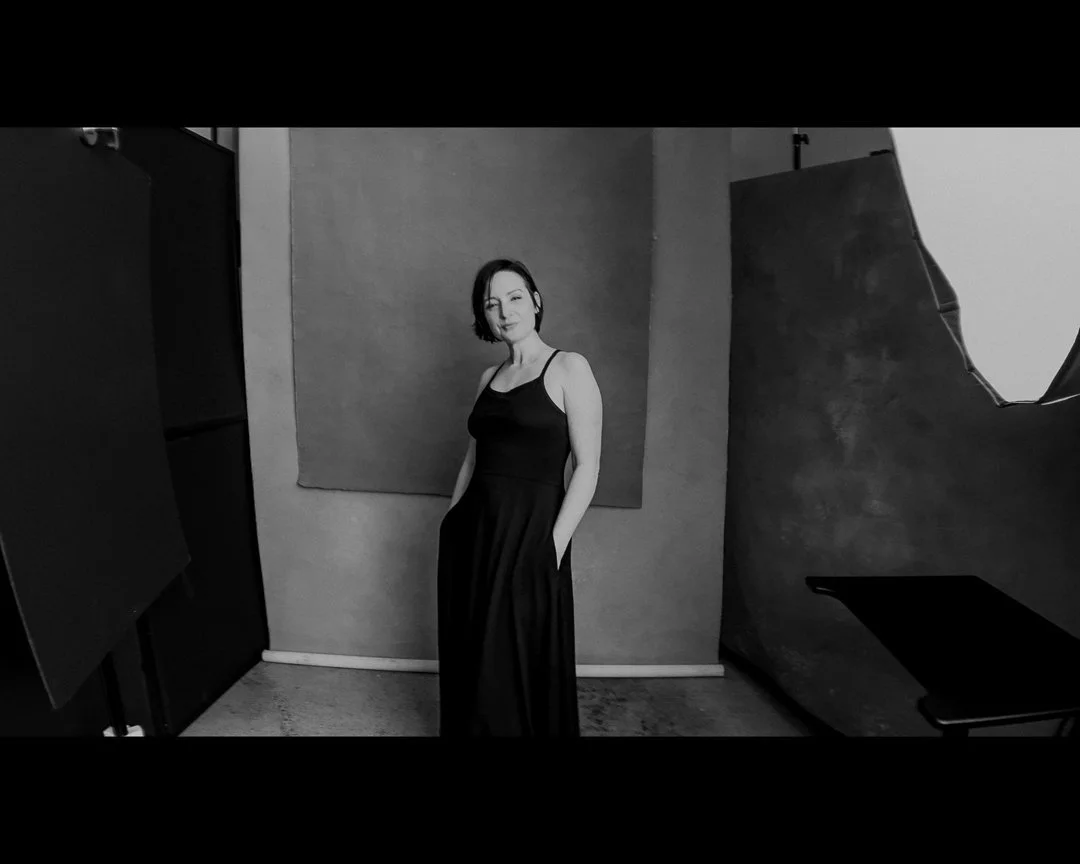
Here are more photos that are taken in studio using this lens on my iPhone 13 Pro.
I took these photos because I wanted to see if I could accomplish something similar to what I take for my clients using my iPhone with Sandmarc lenses. However, I understand that not many people, especially when you are starting, have access to professional lighting gear. To see this lens in an everyday situation, I decided to test this lens both outdoors and indoors with just available light. Here are some of the results.
Shooting outdoors with sunlight and indoors with dim light is something we all experience as photographers. I am happy to tell you that this lens performed very well in both situations.
Vacation Photography?
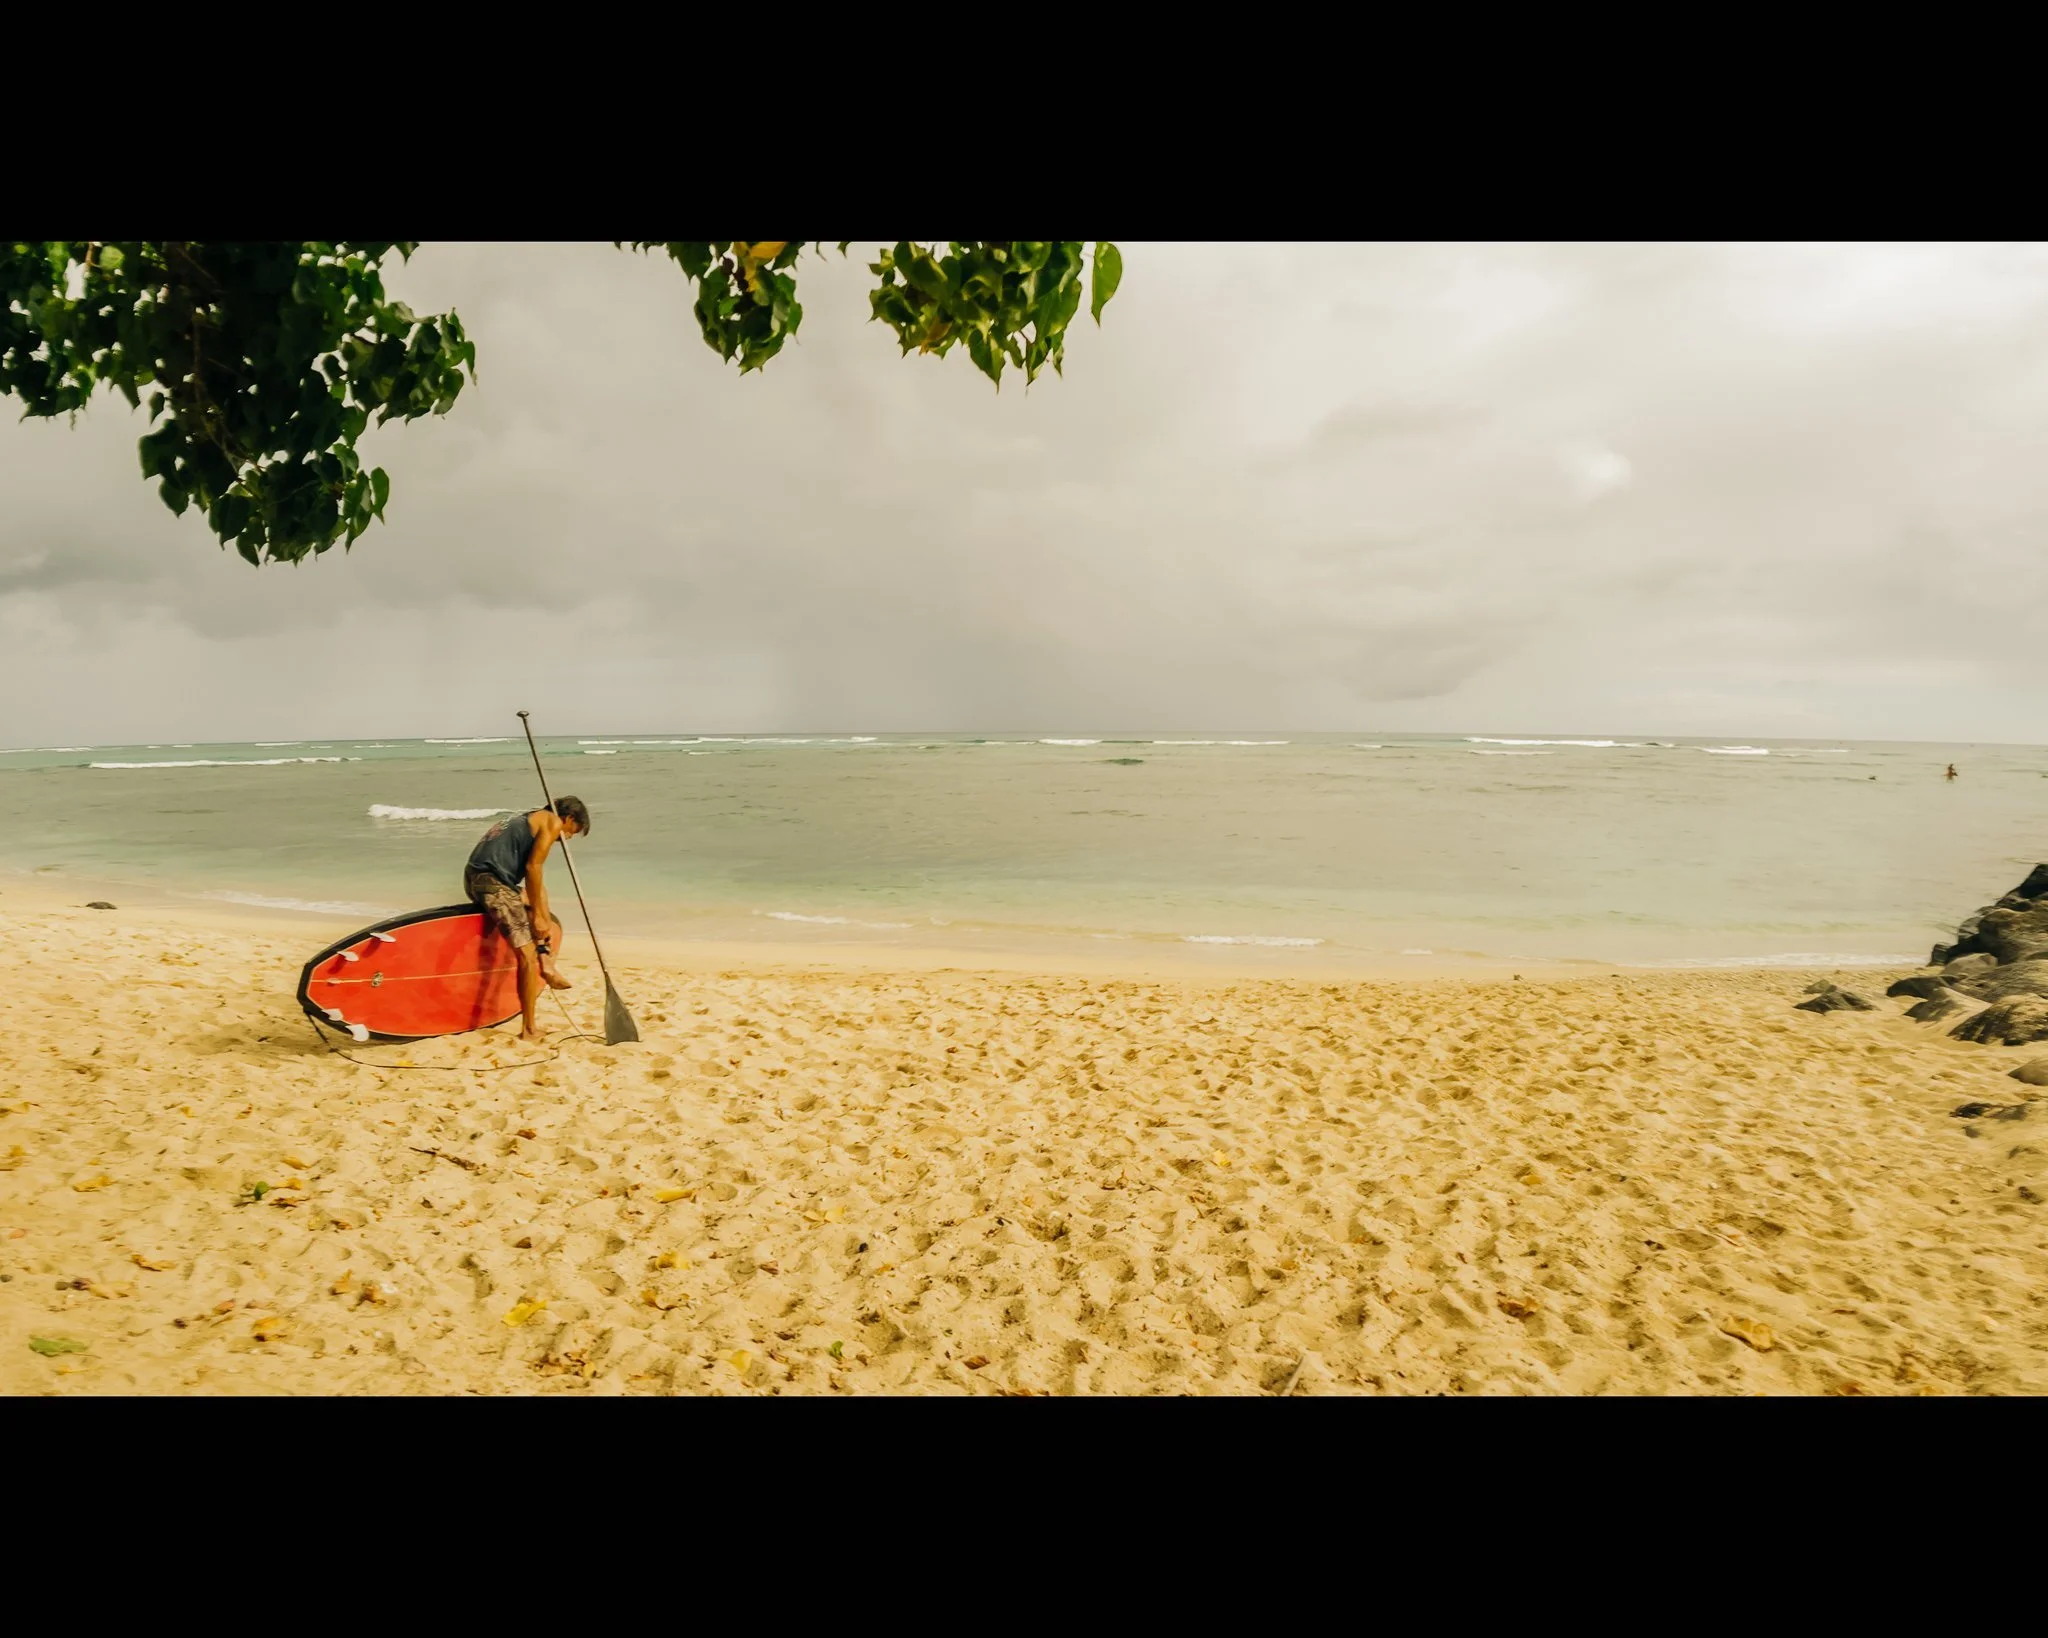
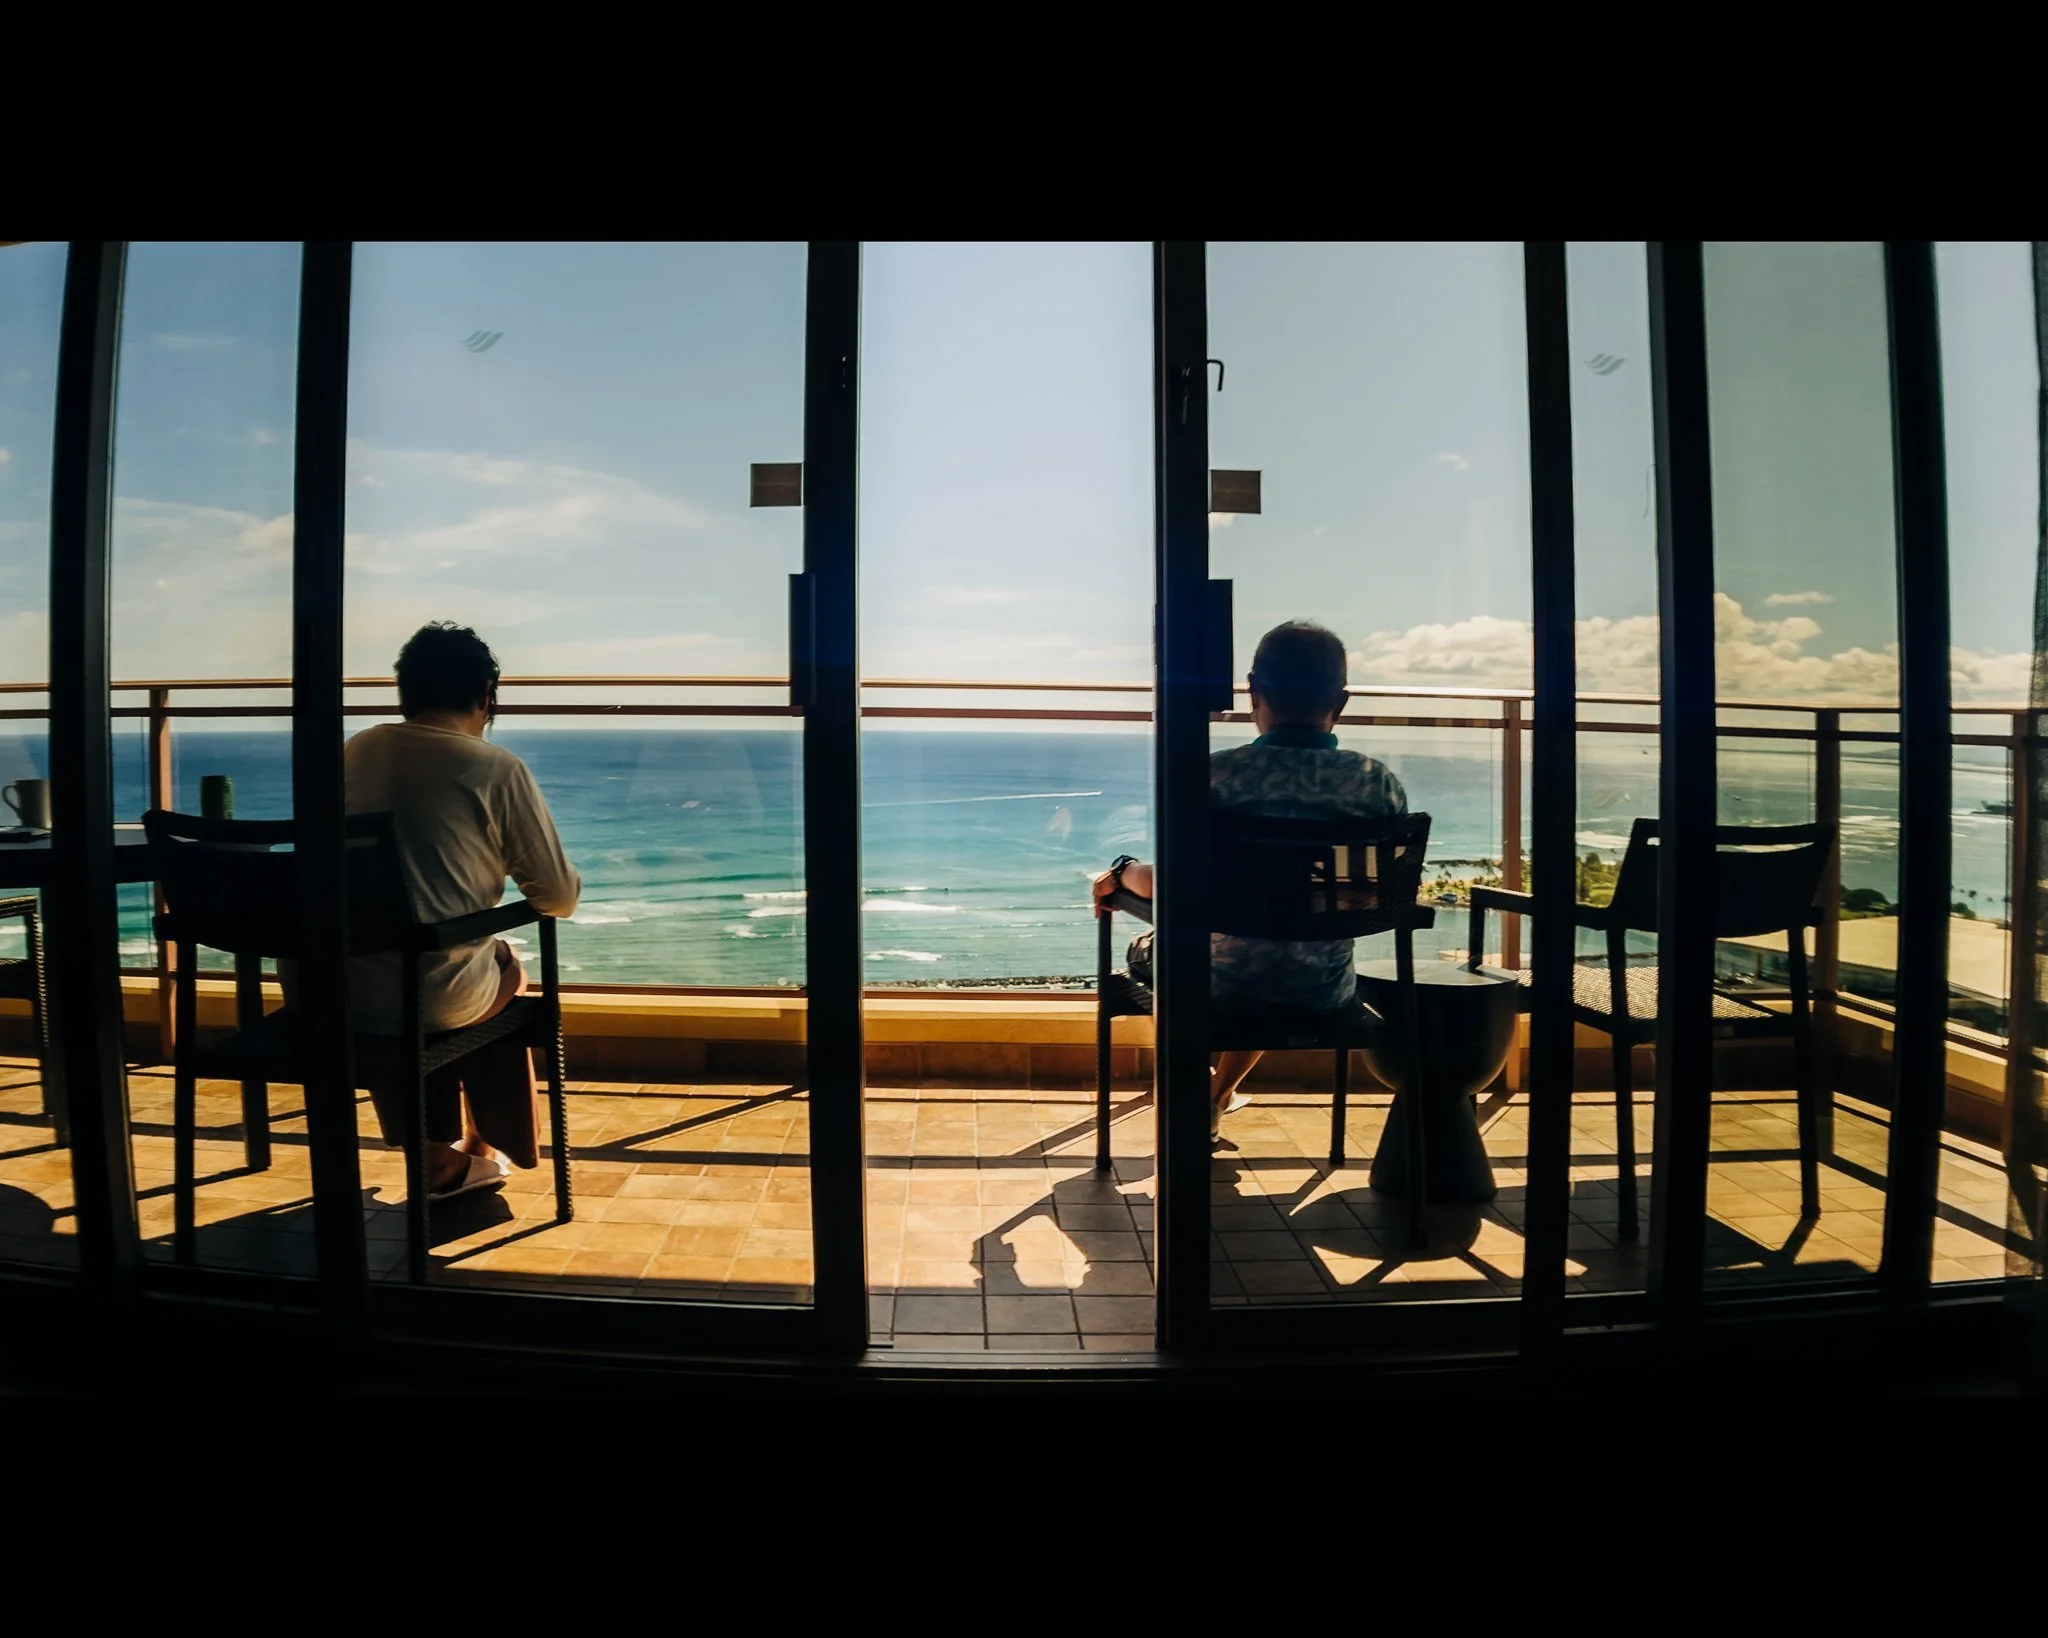
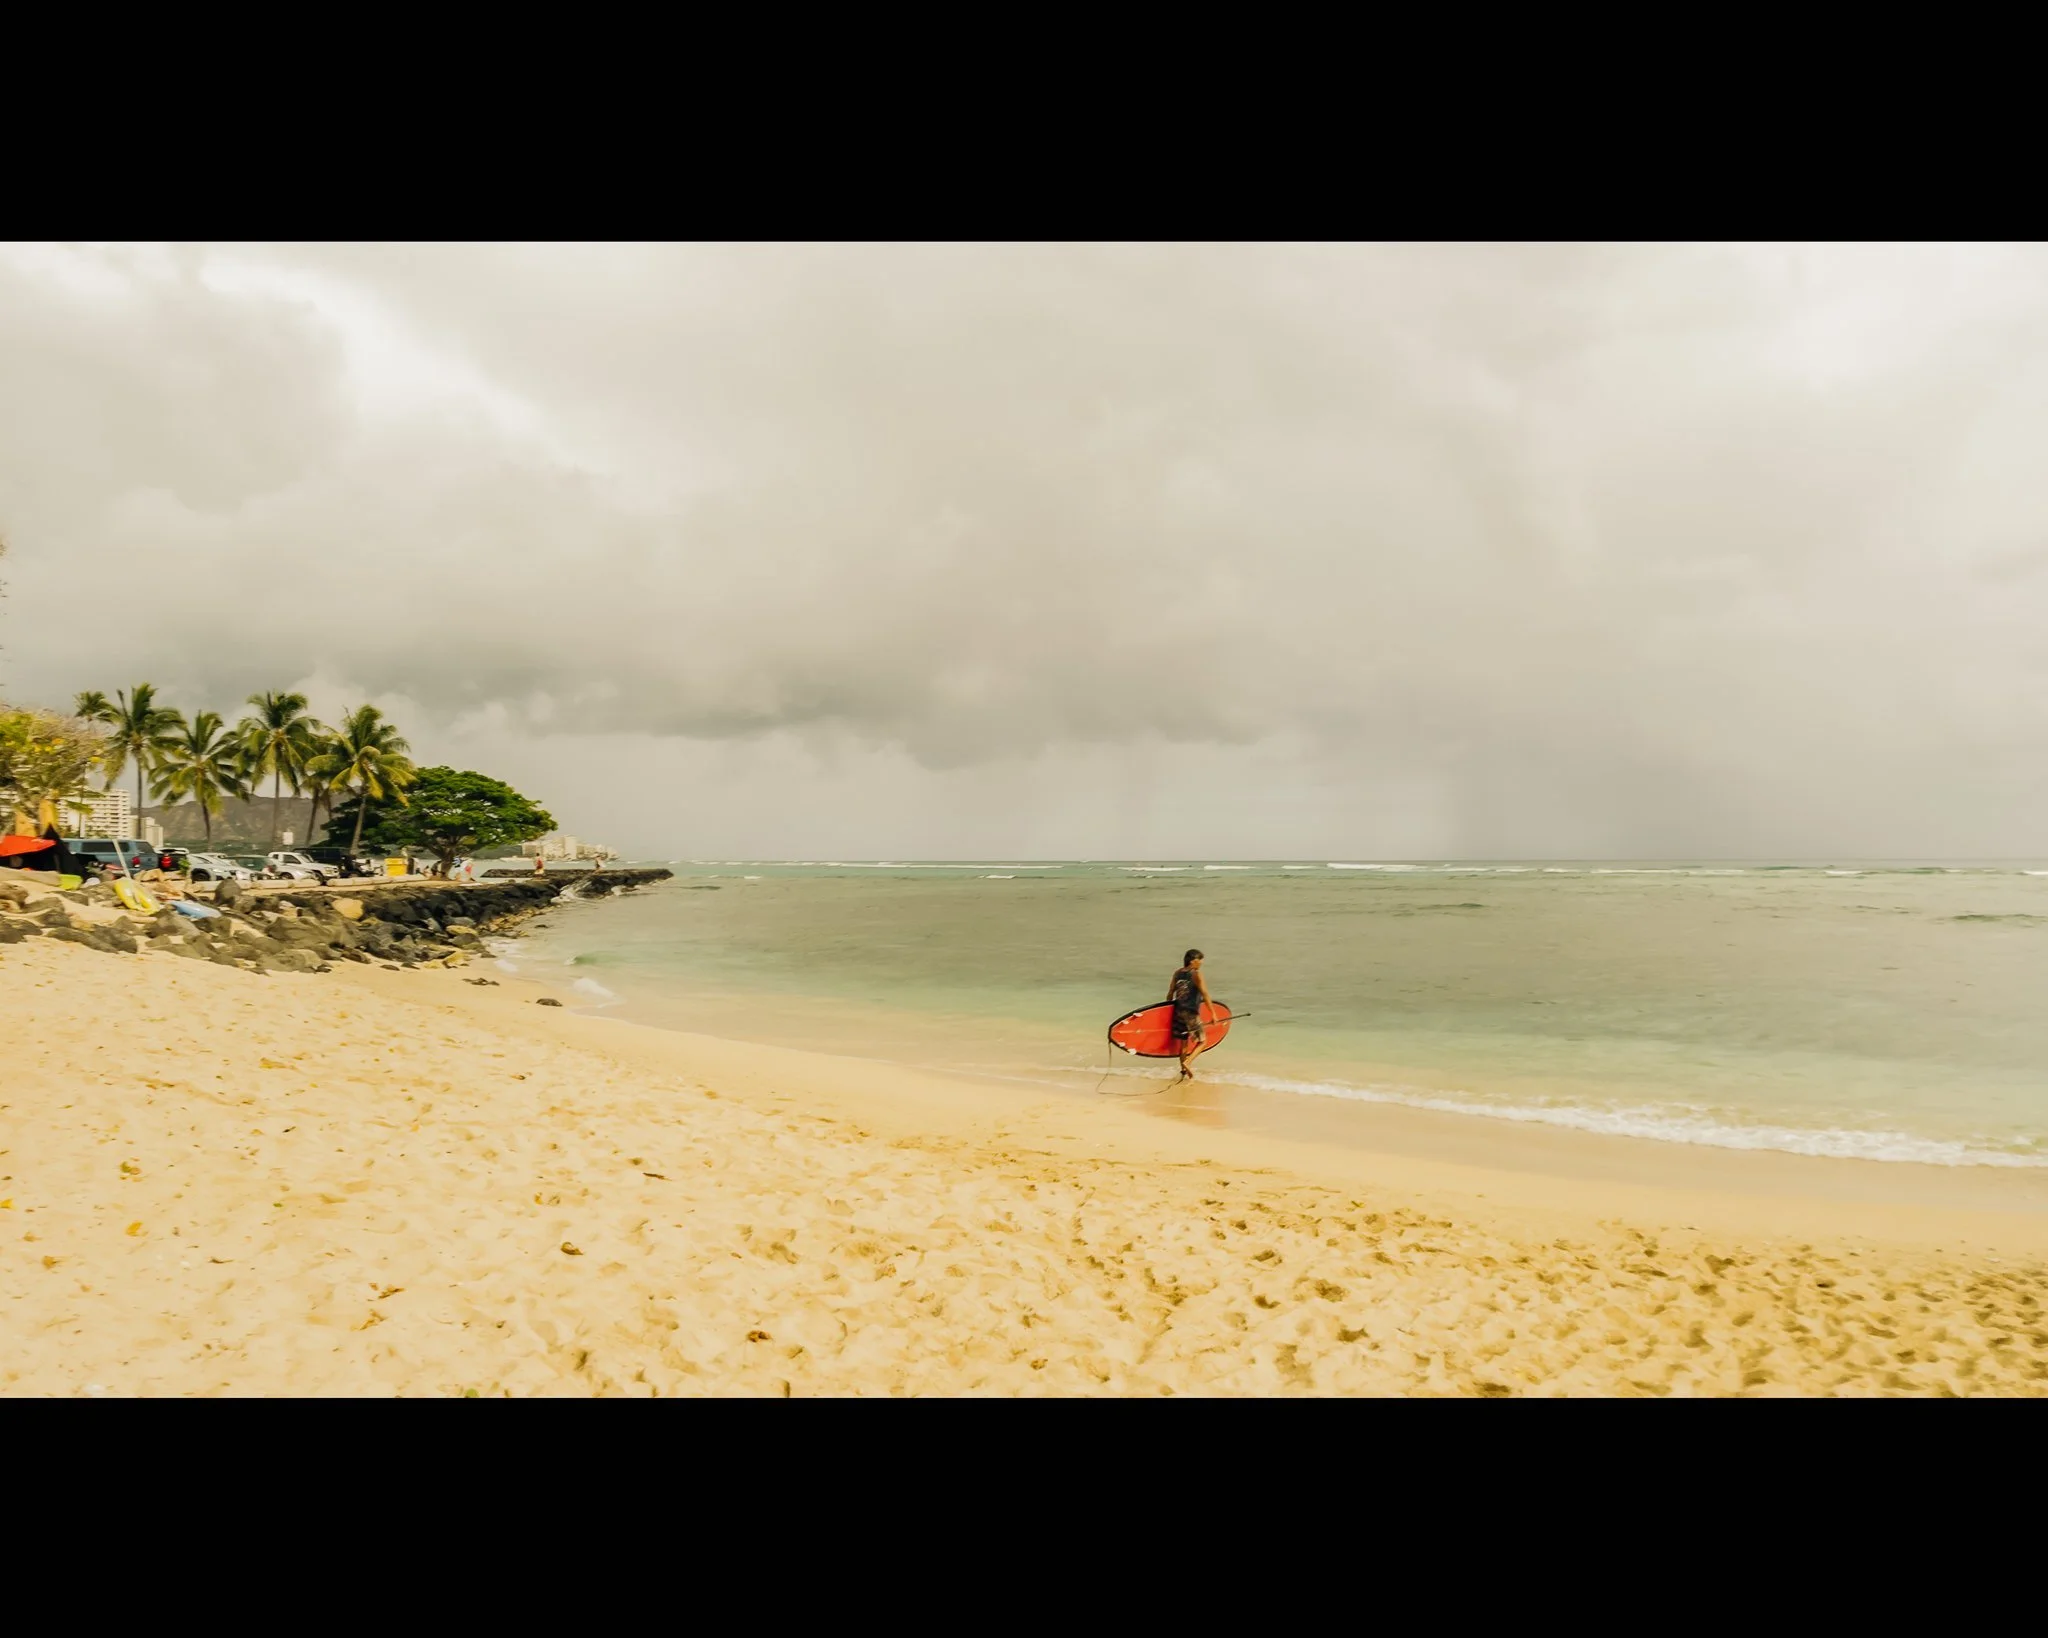
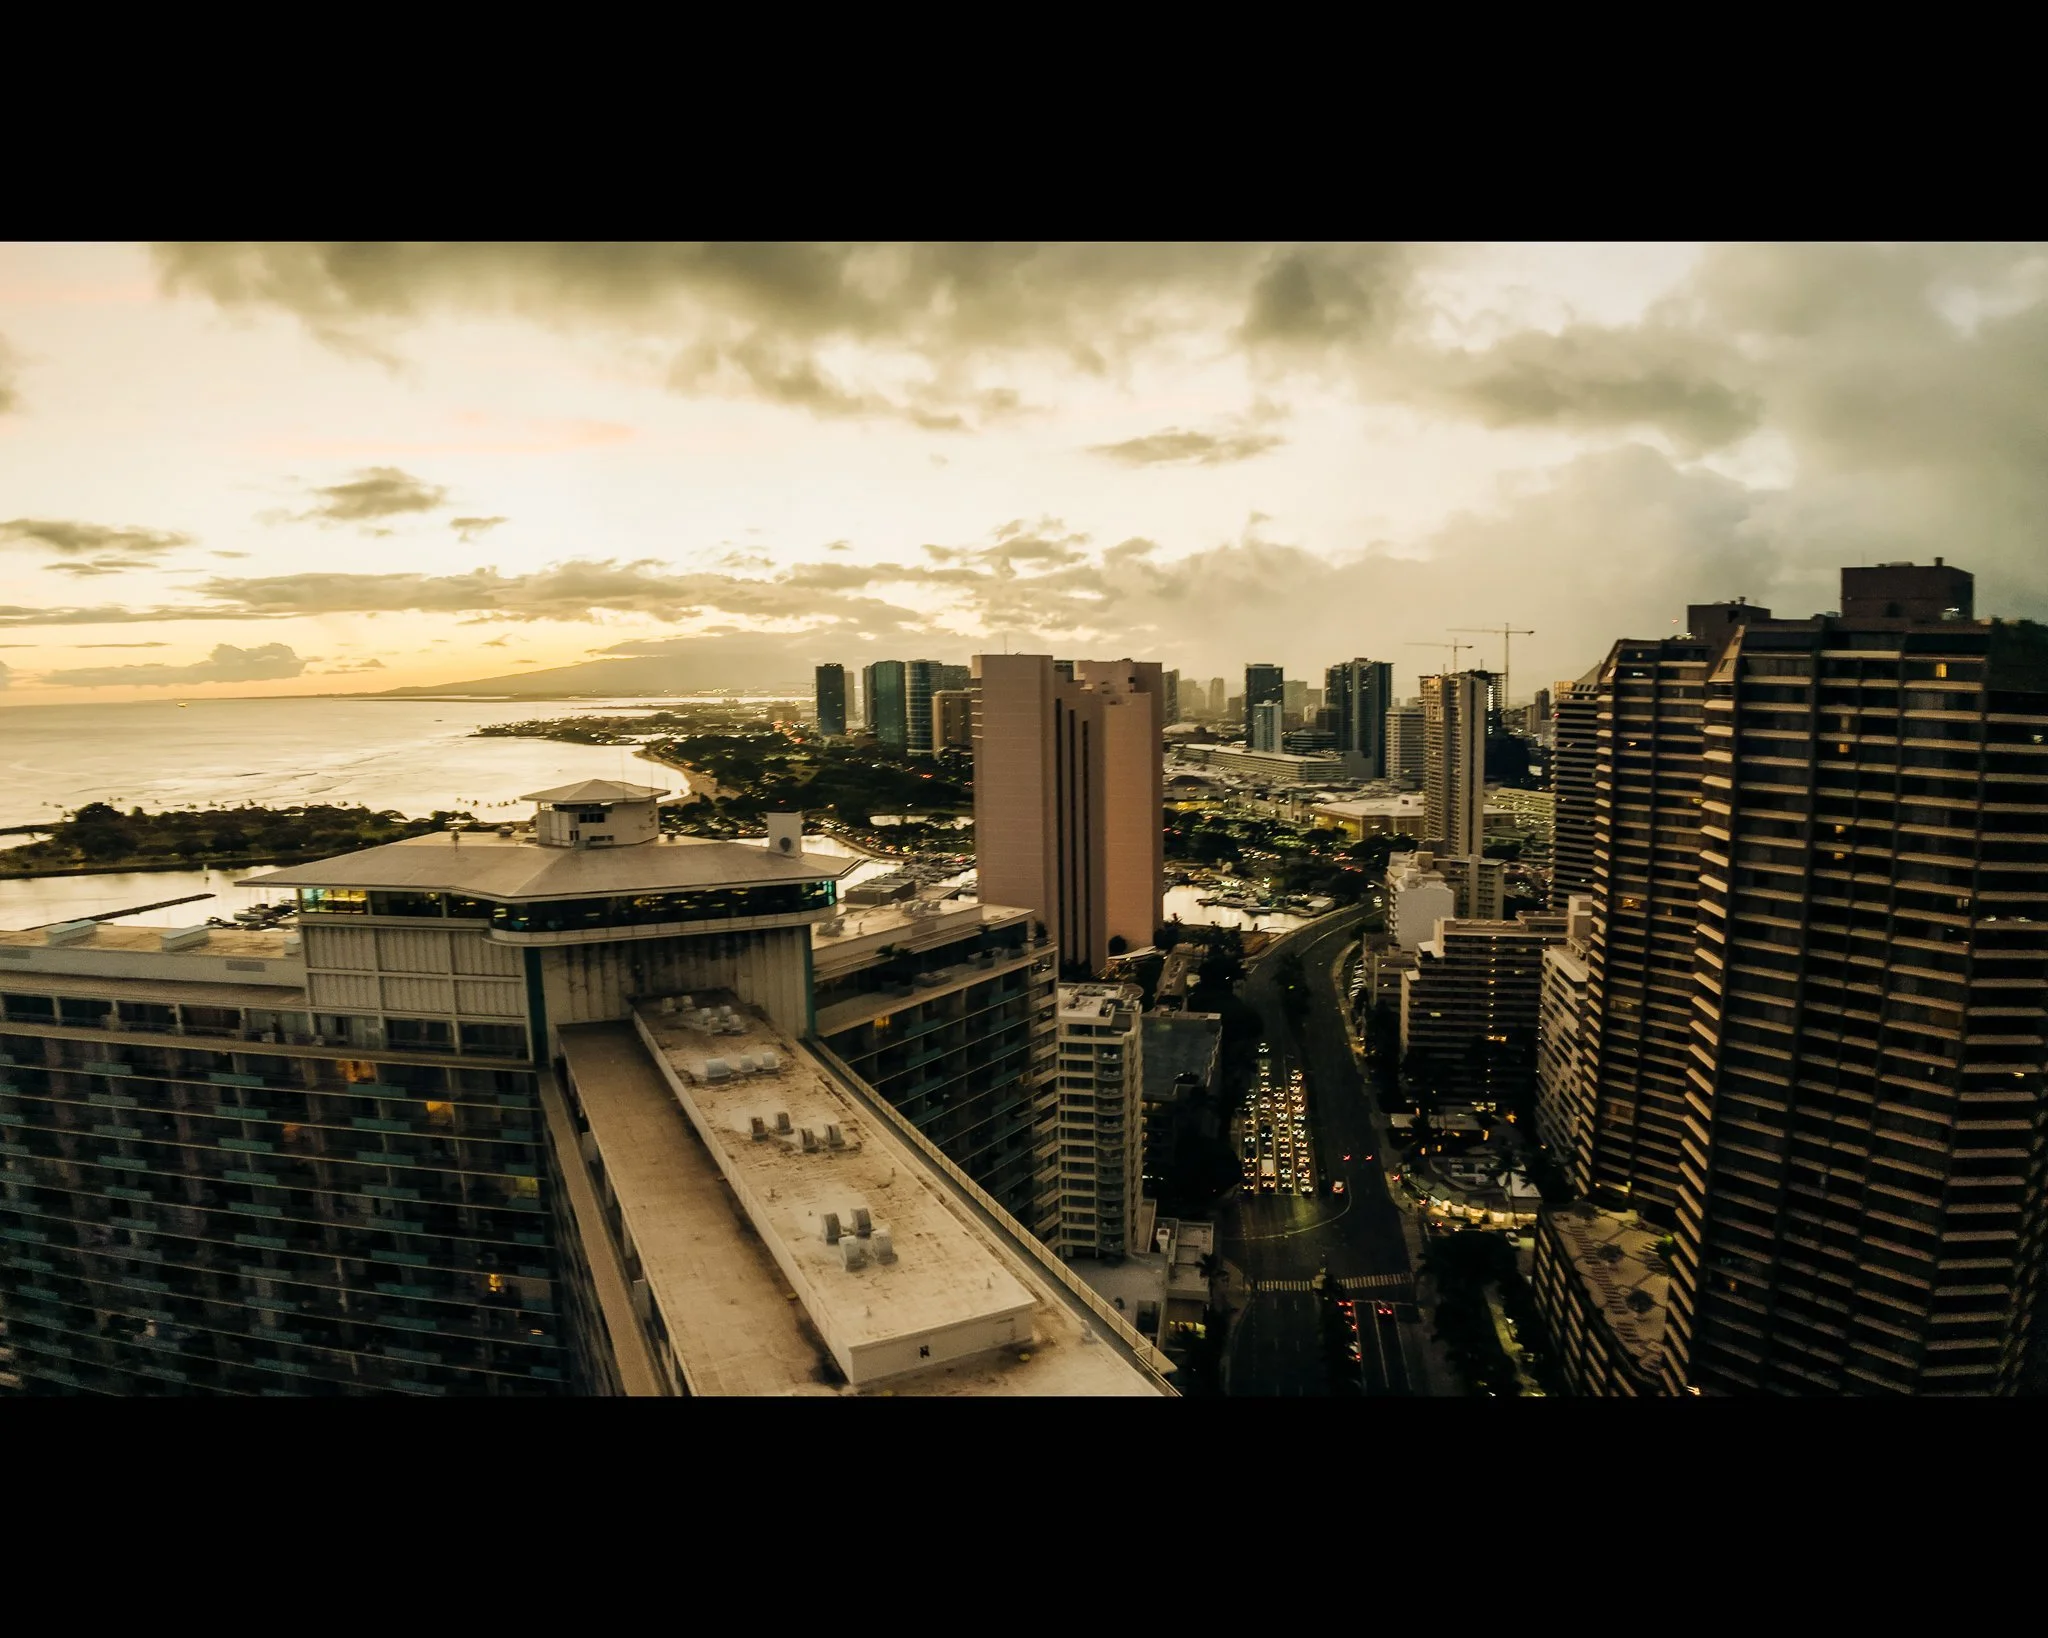
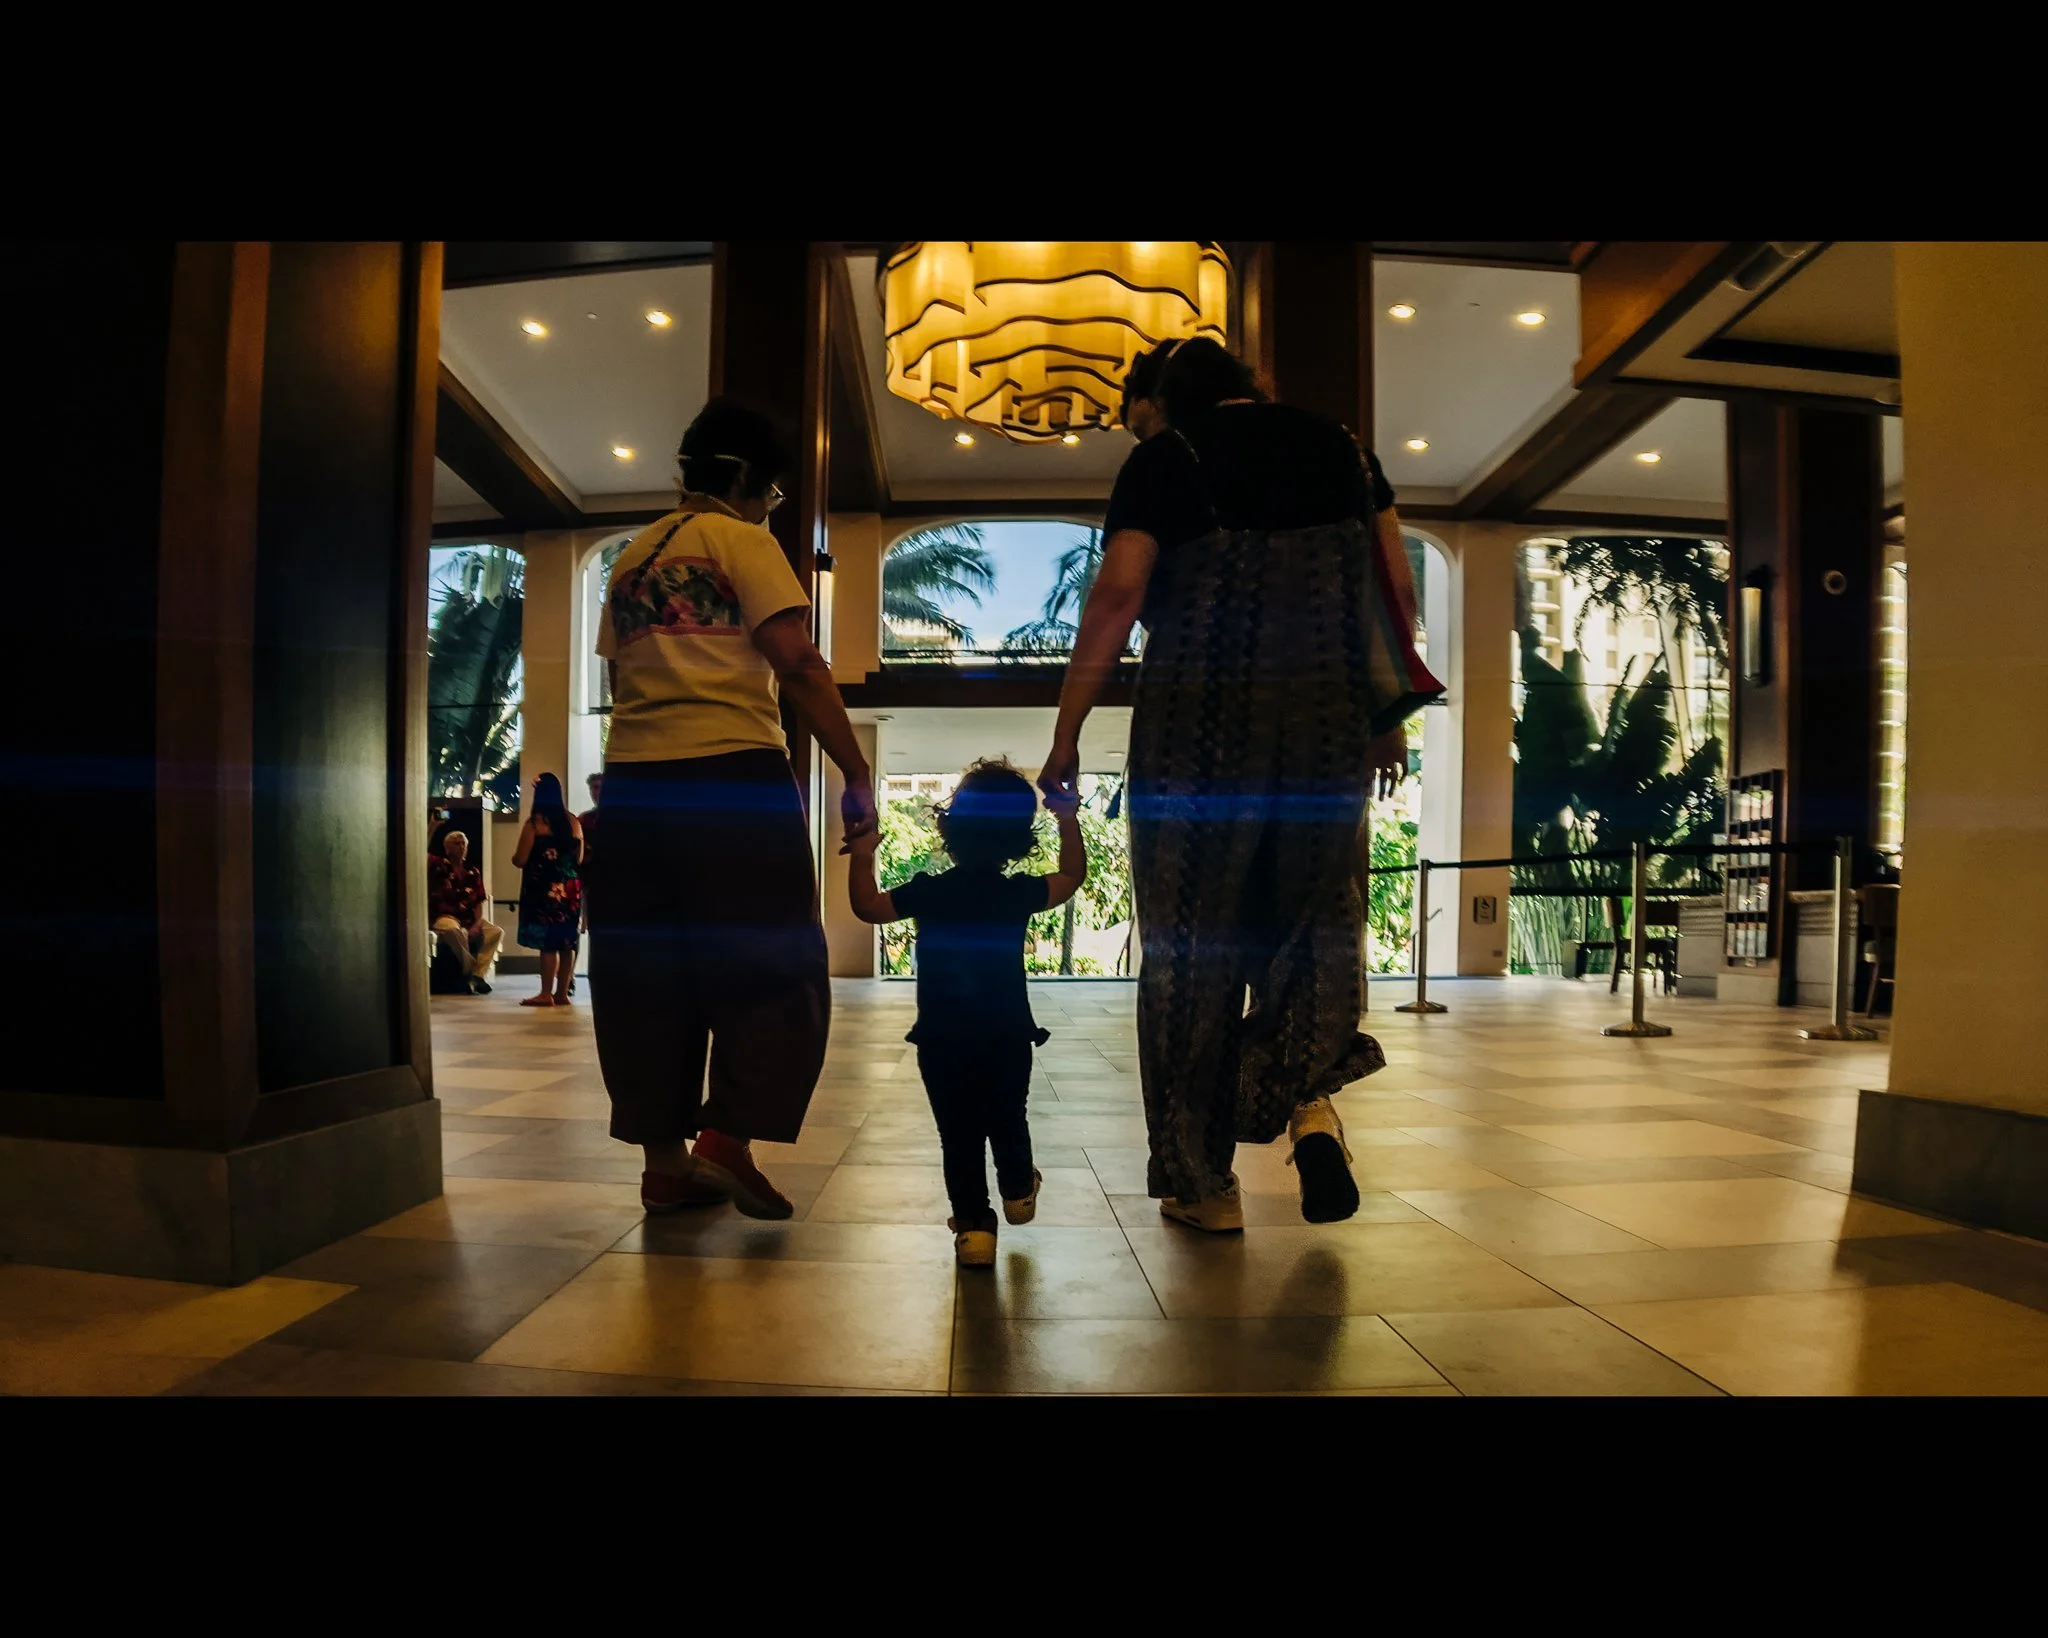
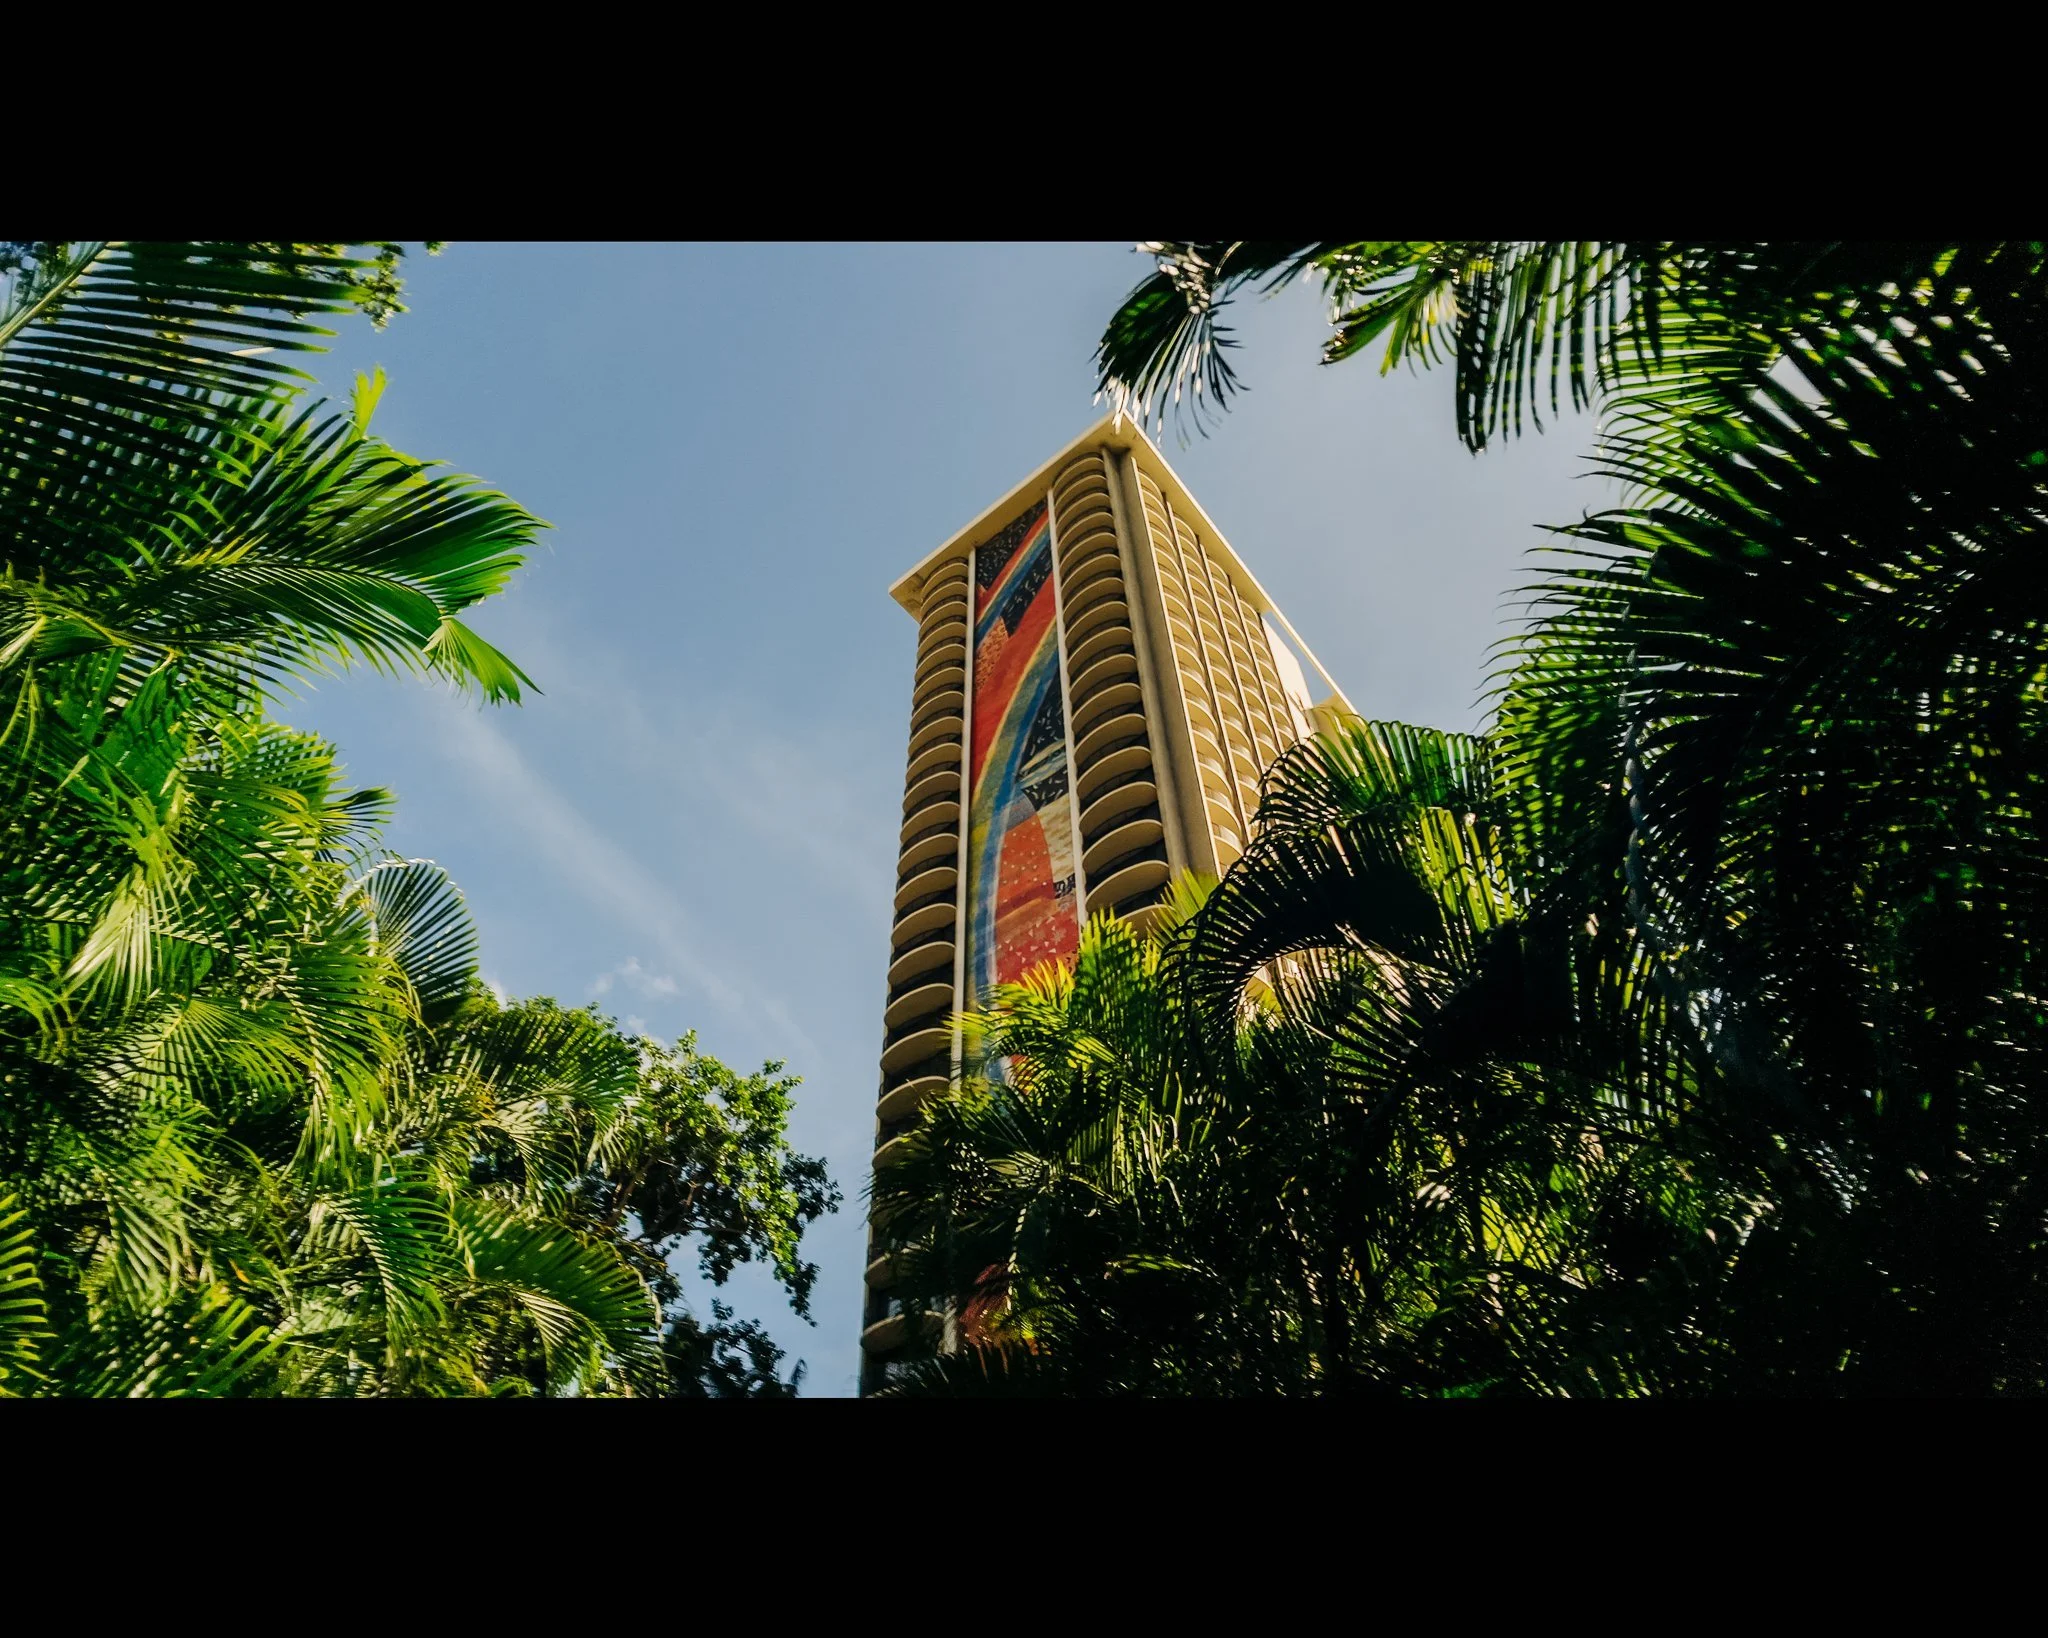
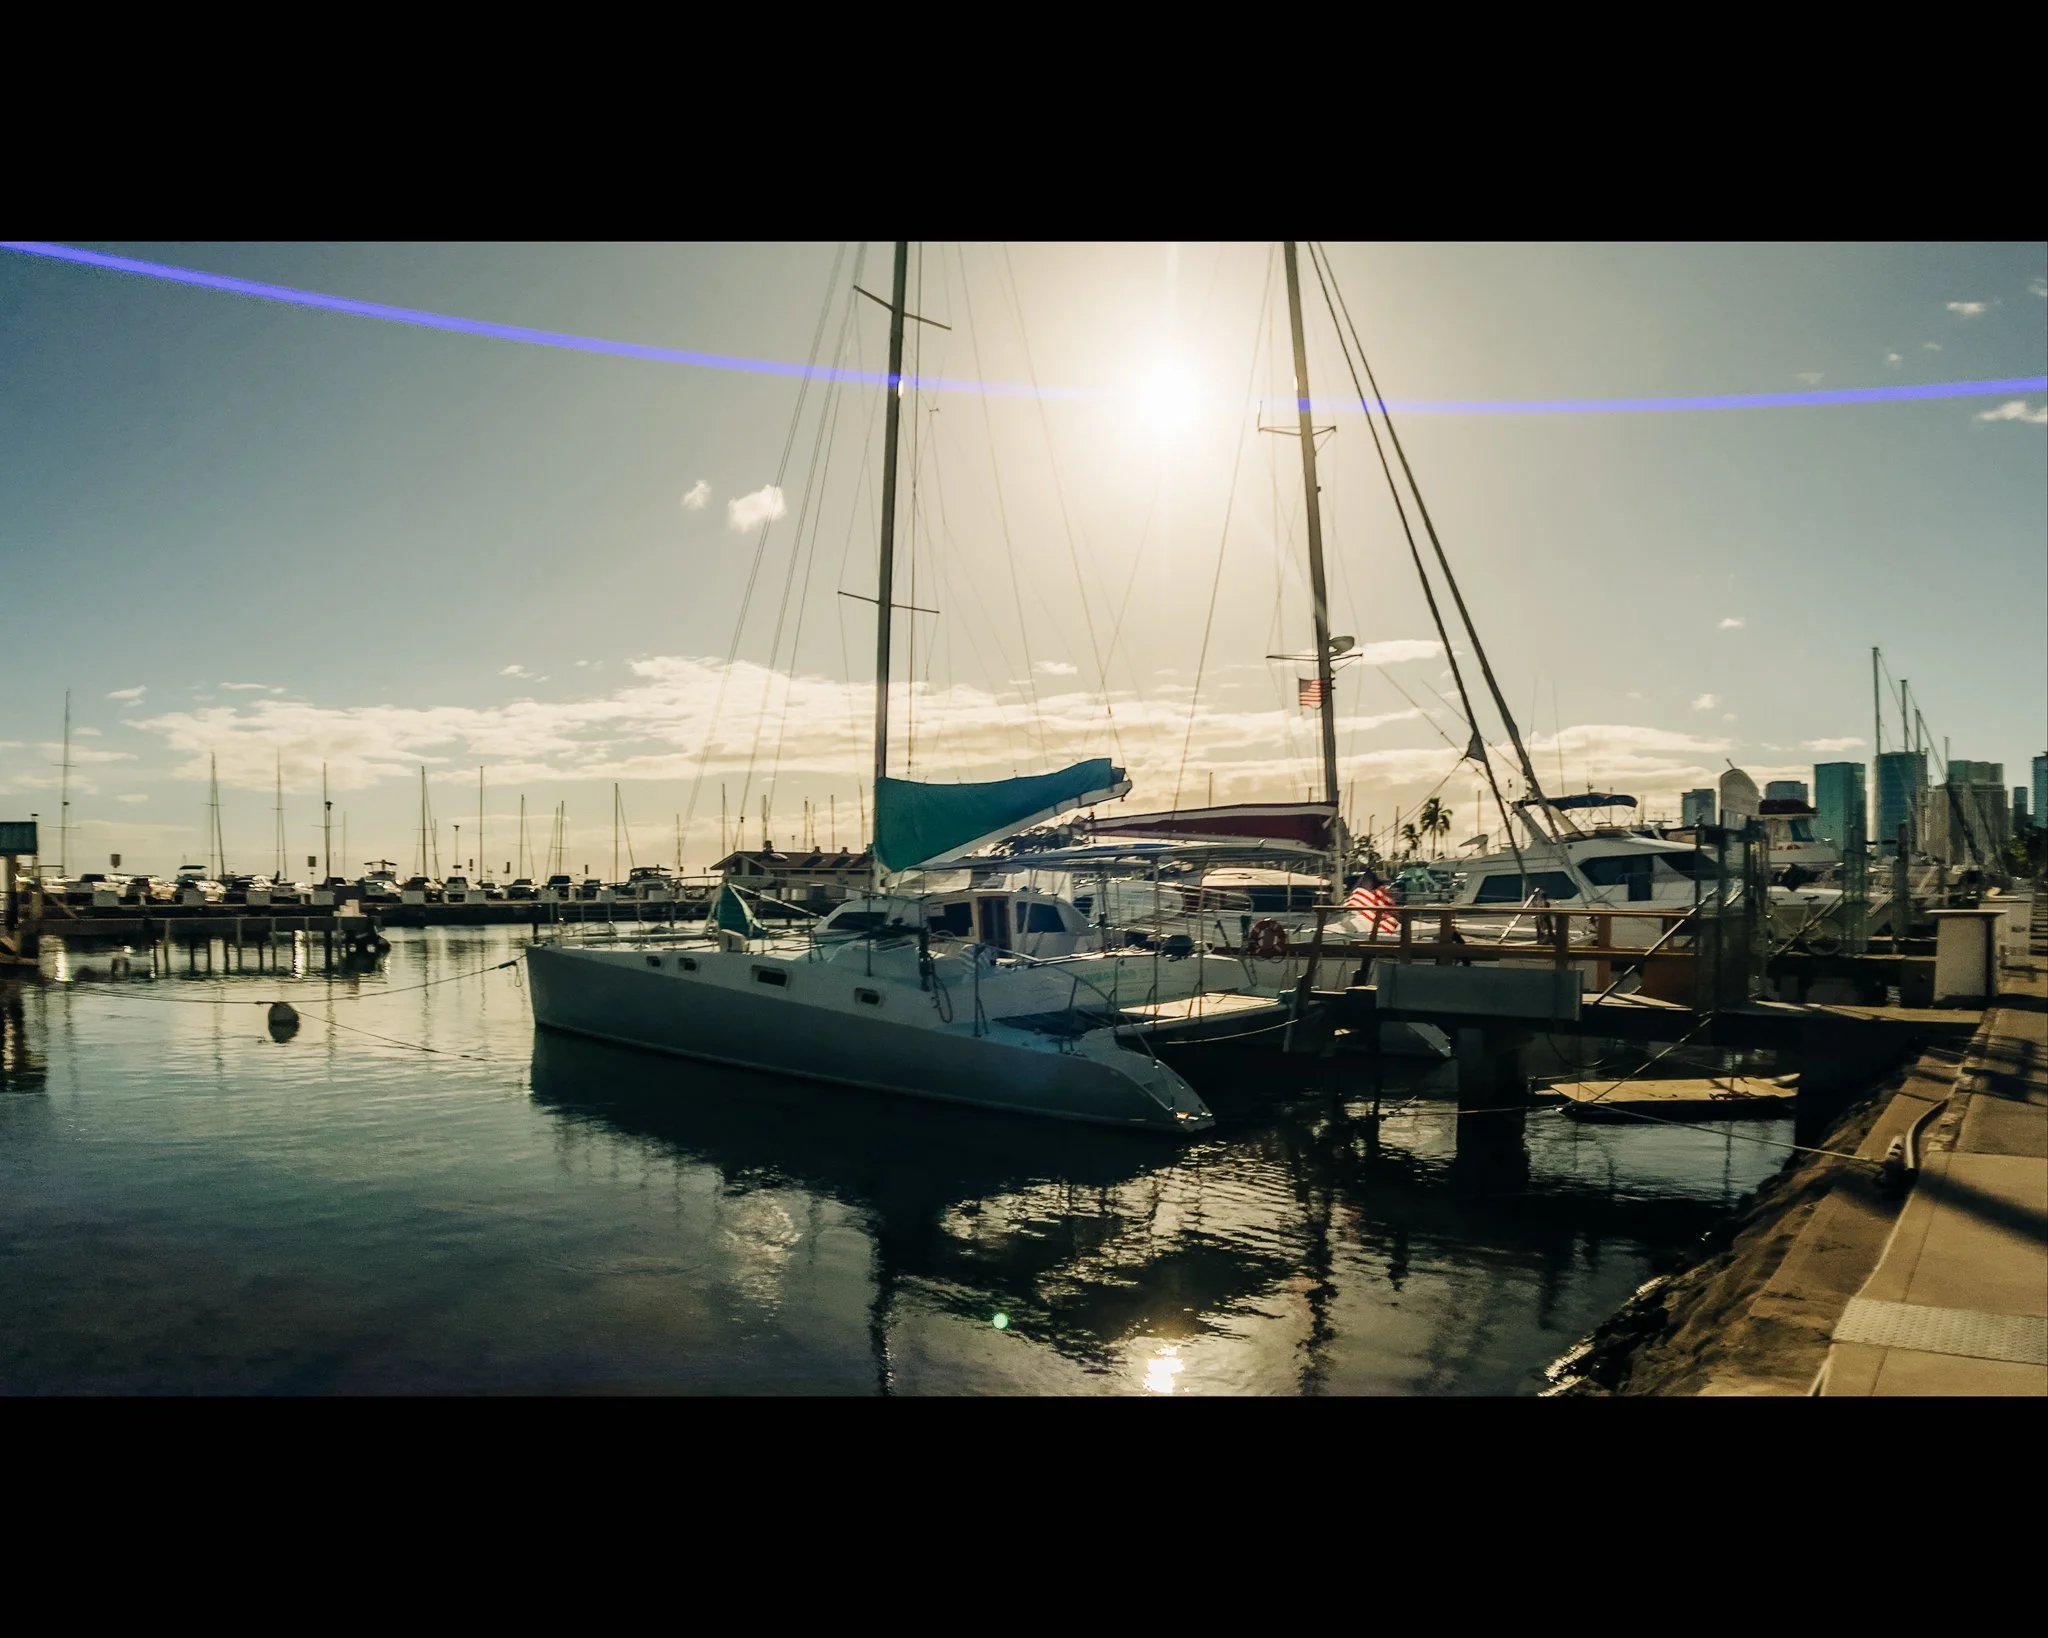
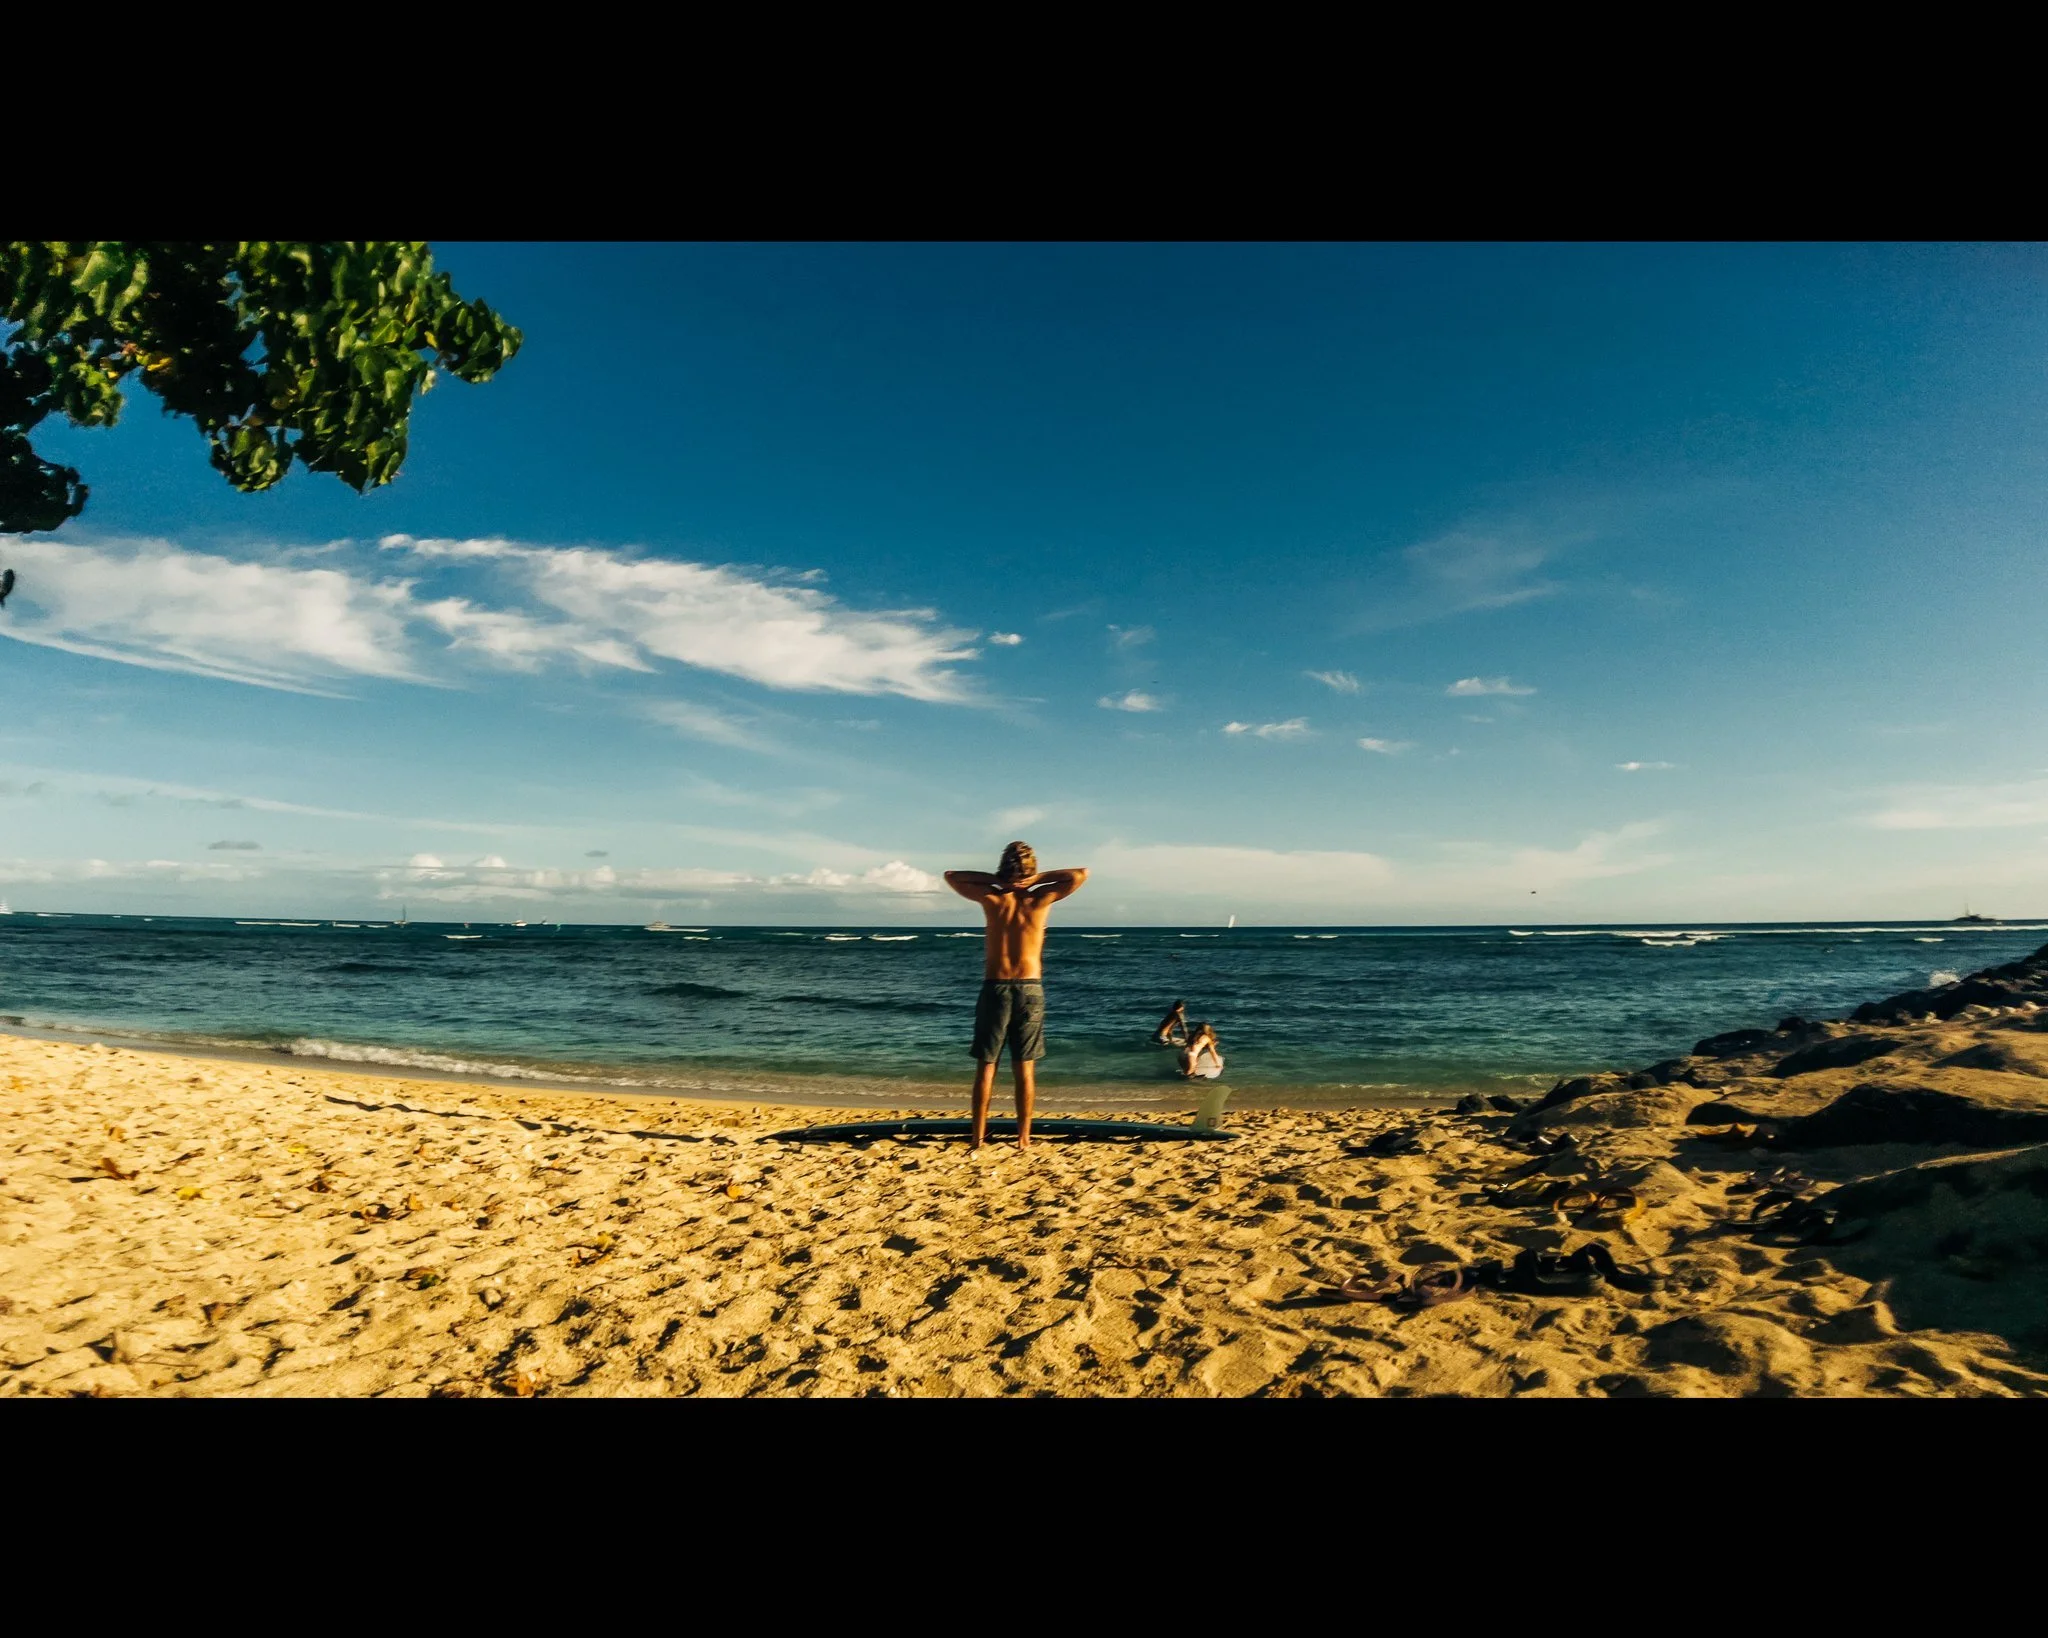
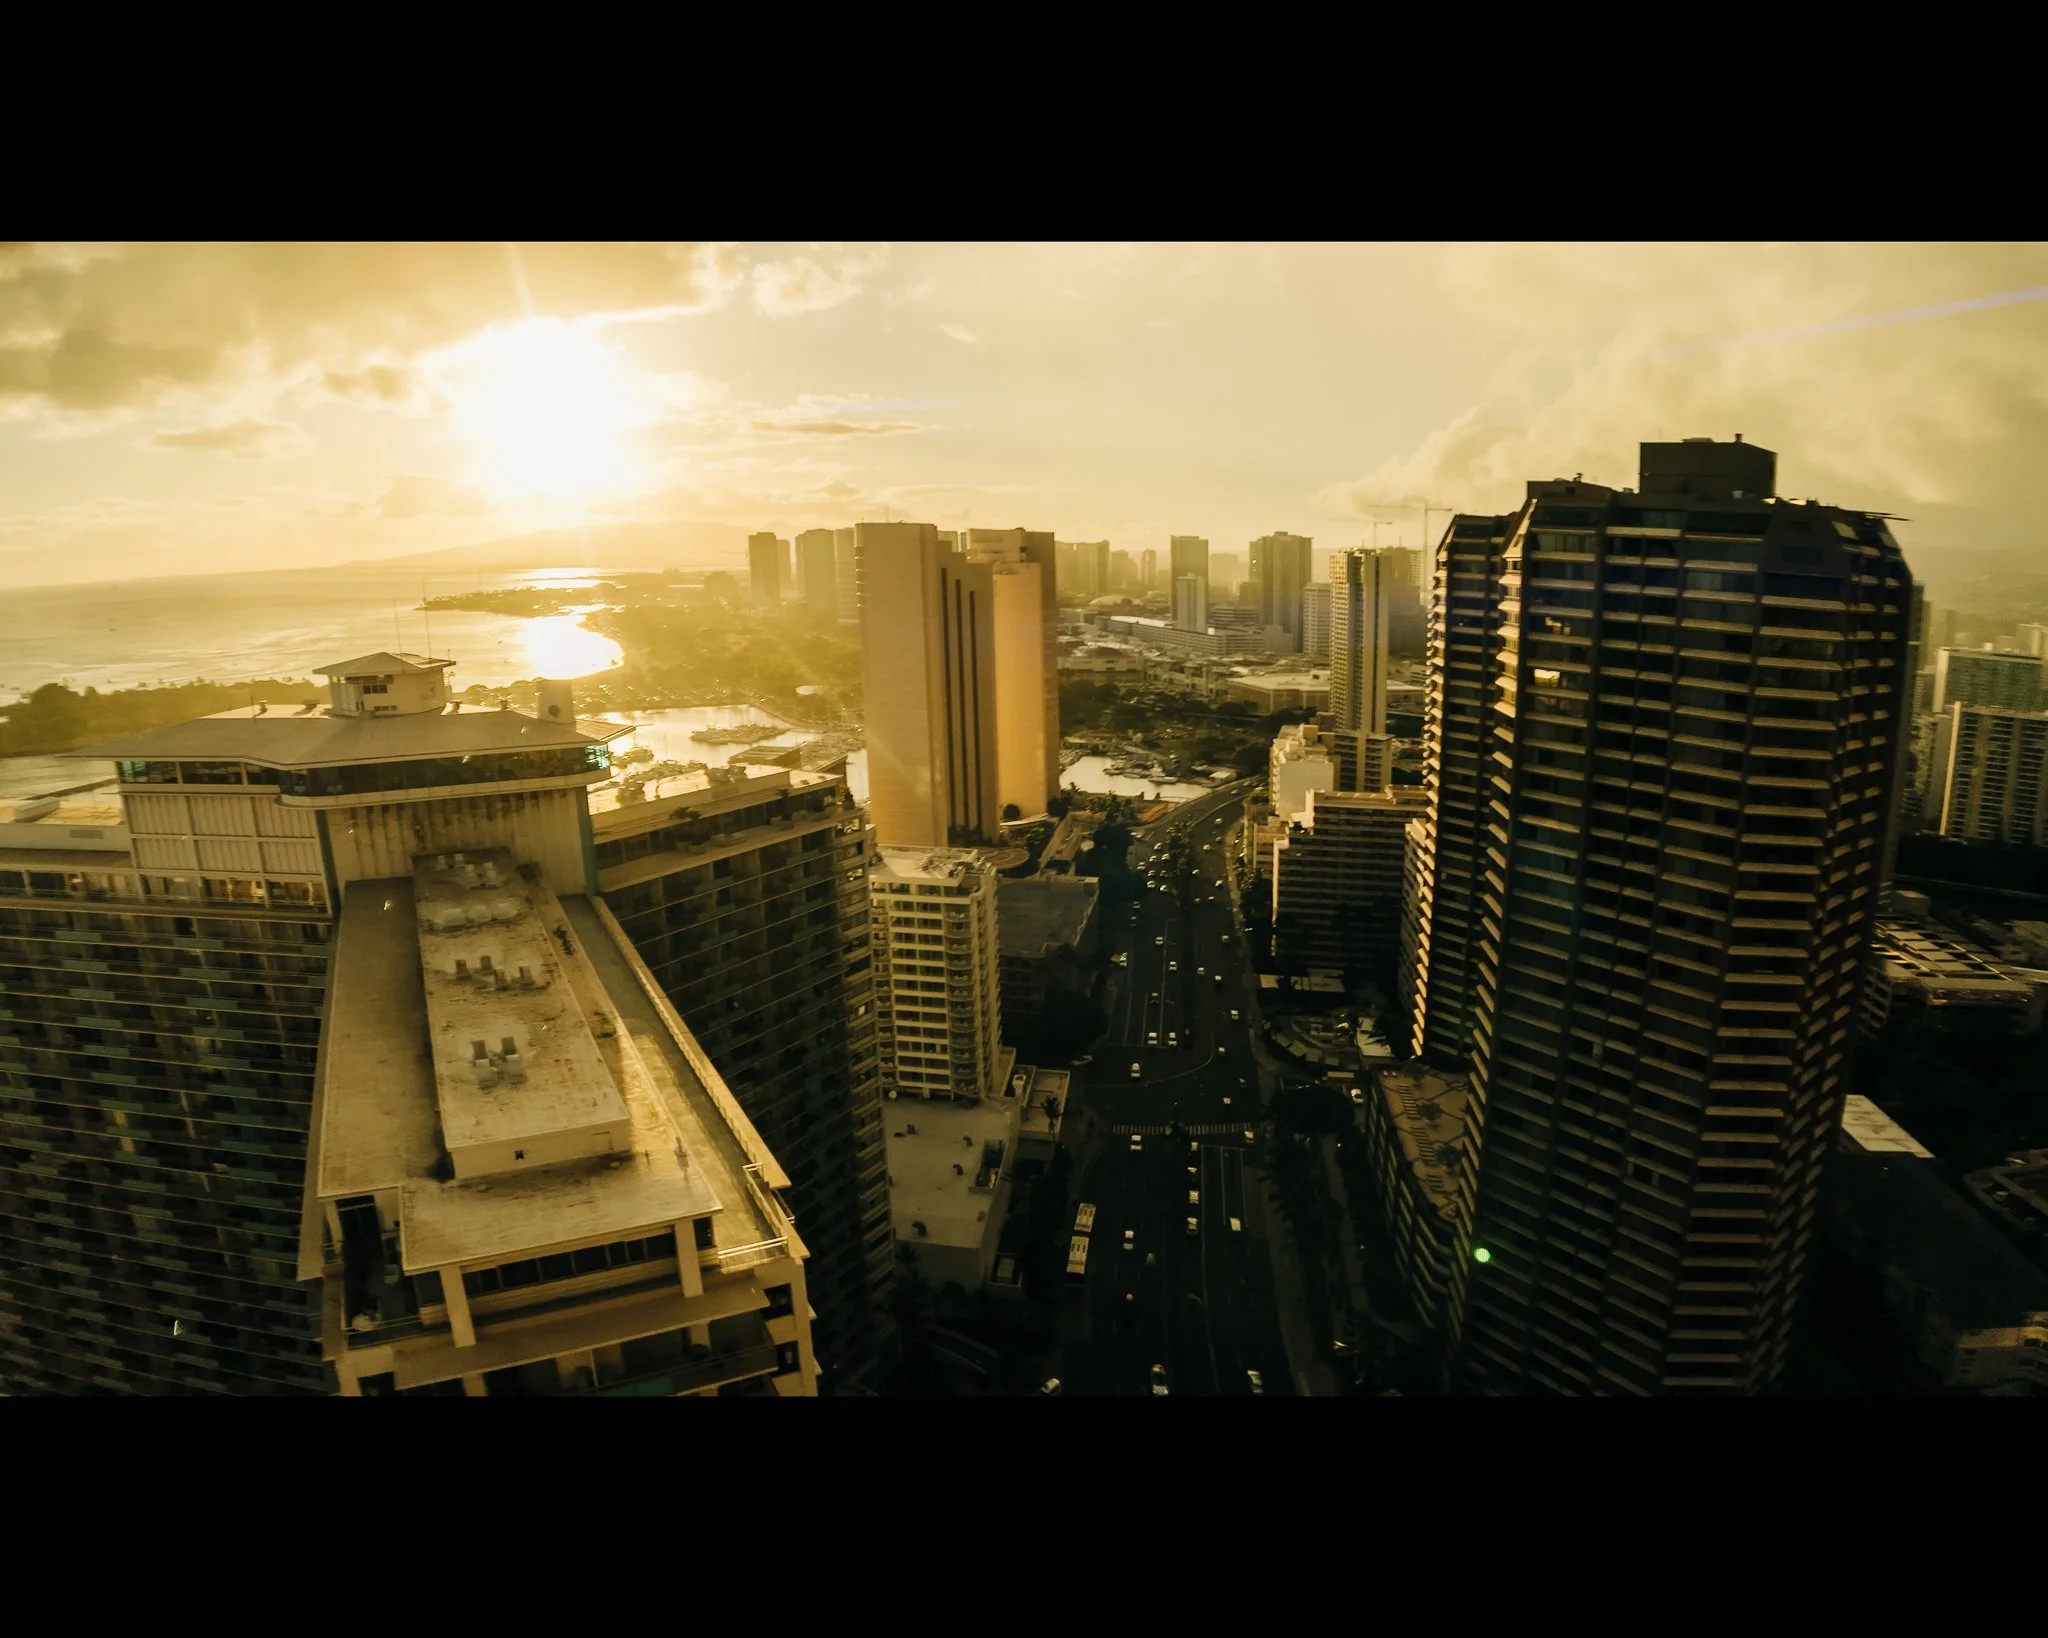
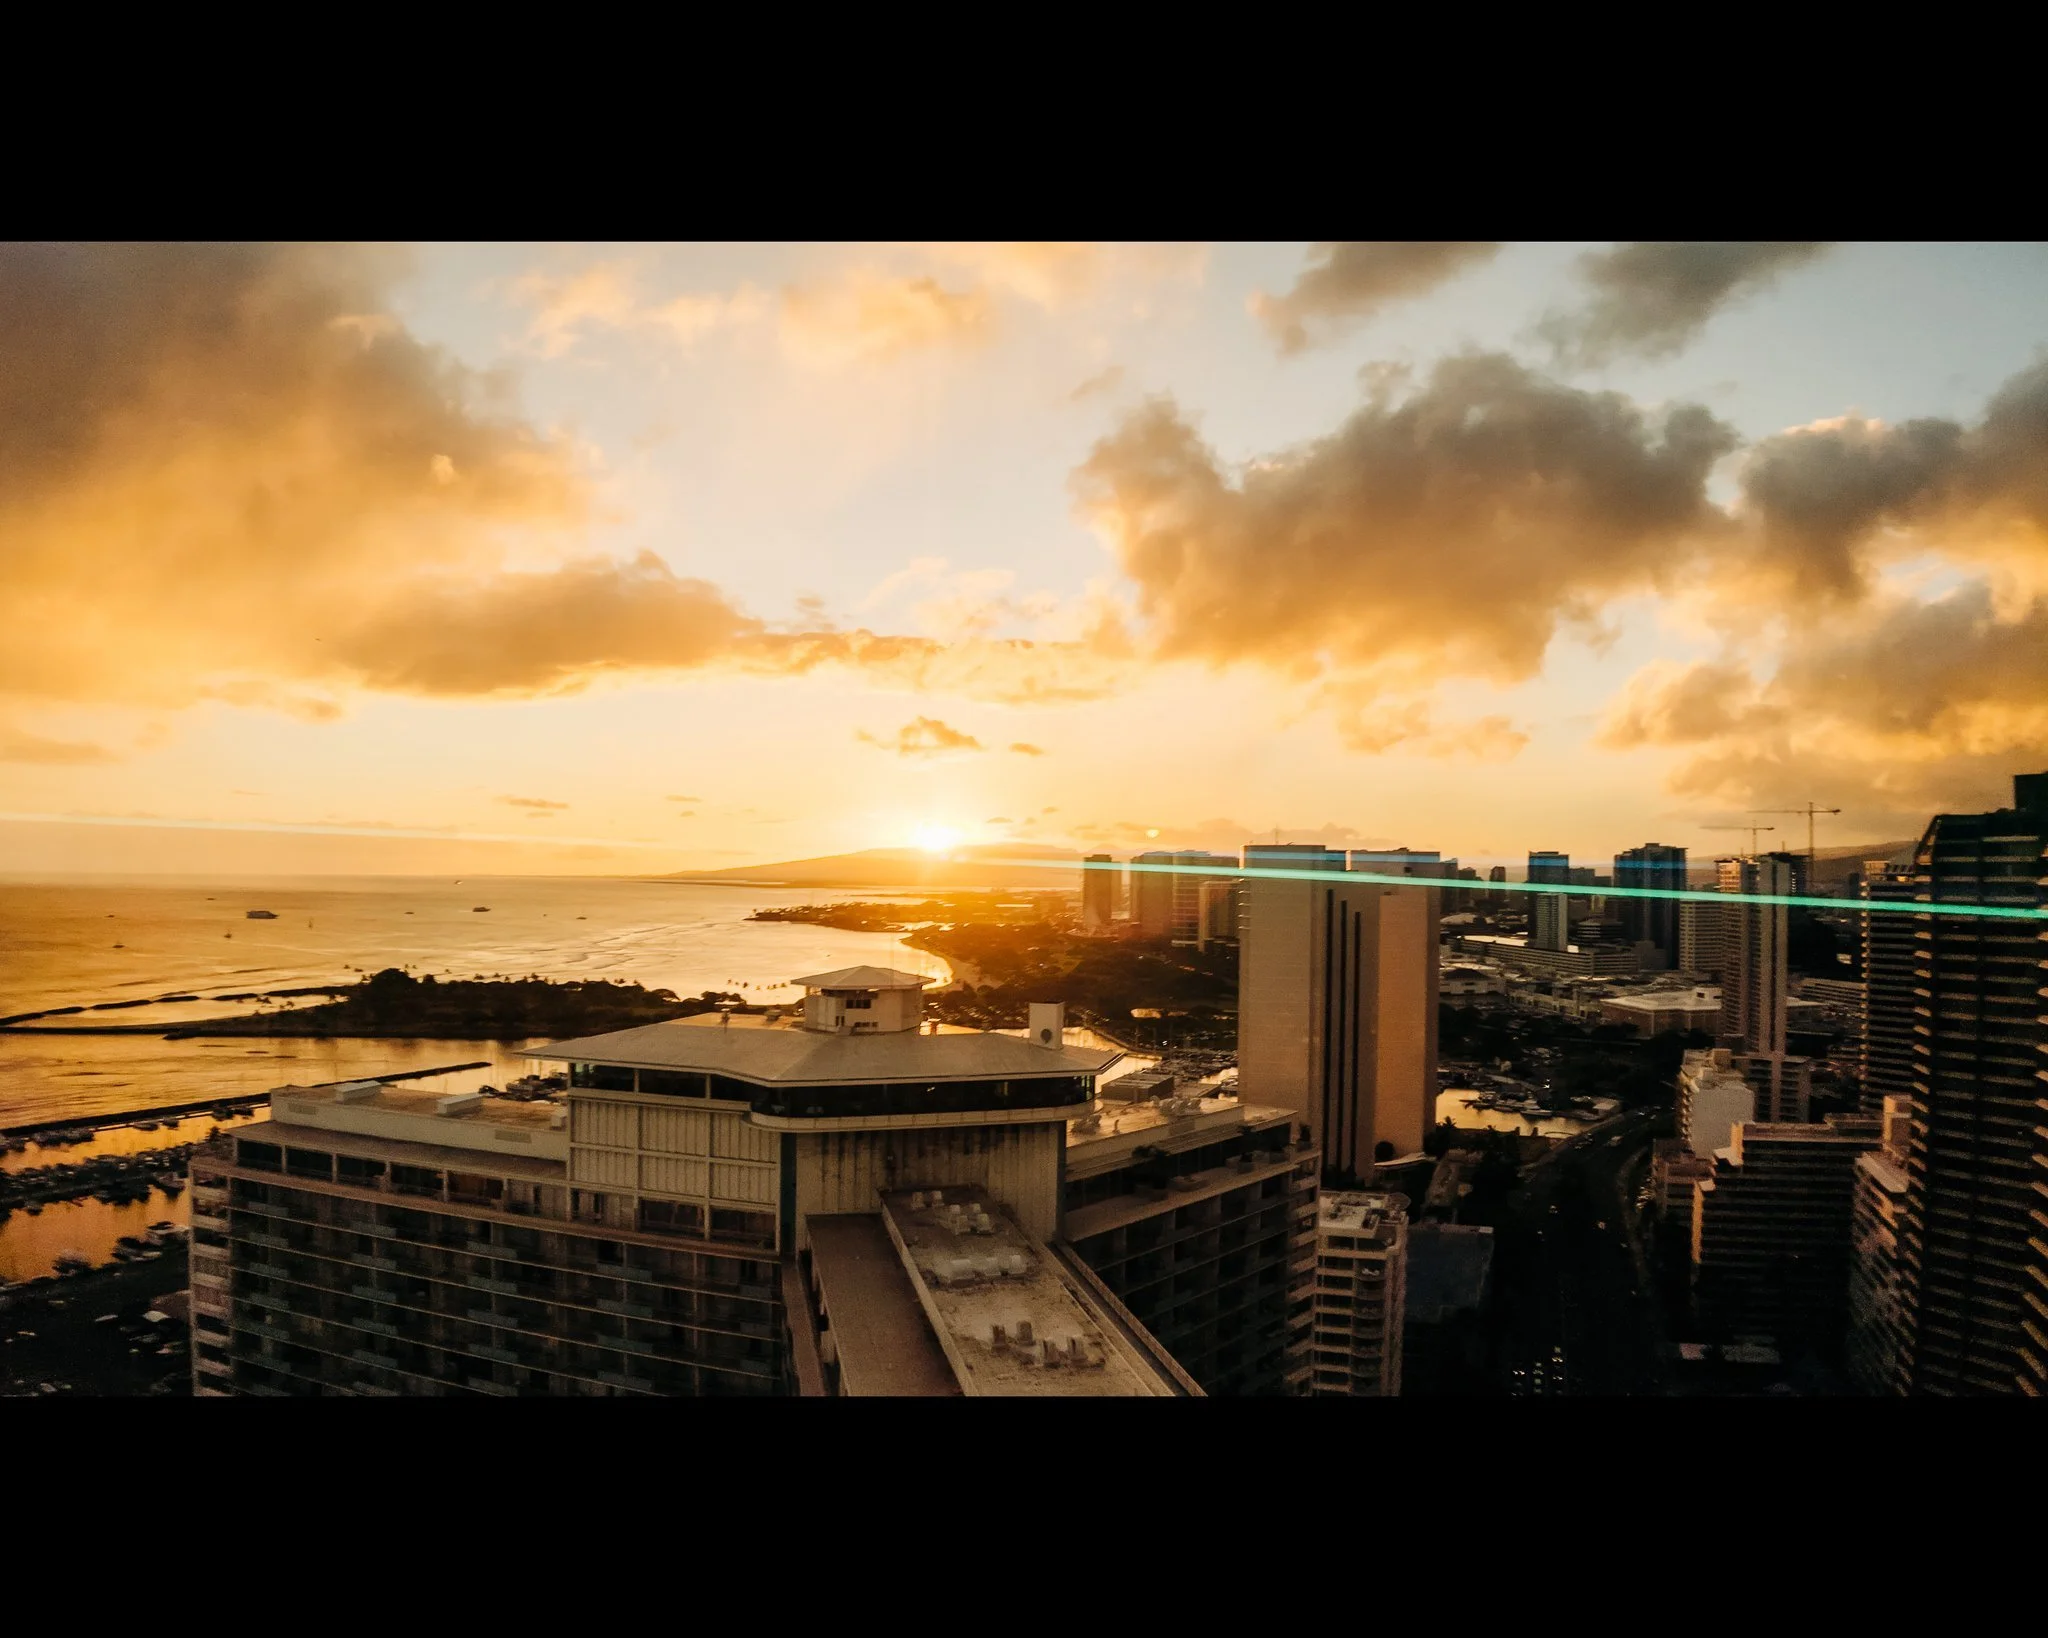
As I mentioned earlier, because I am a portrait photographer, most of the questions I get are usually about using iPhones for portrait photography. However, many of my friends are not necessarily interested in portrait photography. They are more interested in vacation photos and/or photos of their kids in candid moments. With that in mind, I tested this lens on a family trip to Hawaii not that long ago. I wanted to know what it was like to walk around with this lens to take photos of my traveling experience. I had only an hour to take those photos as it was hard to leave a baby and my non-English-speaking Japanese family, but I'm very pleased with the results.
It was a pure joy to go around taking photos with this lens. I have to be honest, when I look at them in my photo library (remember, they are still squeezed there), I had a bad feeling that they might come out terribly. When they were de-squeezed, however, they did not look like anything I have ever taken! Also, for the first time in my career, I experienced something remarkable watching the photos transform. I know some photographers will laugh at me when I say that I genuinely thought some of them look like they are straight out of a movie.
In conclusion, both lenses from Sandmarc are so much fun to use as a photographer. They give you much more variety in your photos without buying an expensive camera. If you are using an older iPhone with just one lens or are learning to take pictures of people, I would recommend the telephoto lens as your first lens. It is easier to use with minimal distortion. However, if you are using a newer iPhone with more than 2 lenses and are already feeling comfortable taking photos of people, I would recommend this anamorphic lens. This lens gives you the most significant perspective change, and it is so much fun to see the images transform.
We are planning on making a help guide for taking great photos of your family using the iPhone in the future. We take family photos professionally. Still, we understand not everybody has the budget to hire a professional. Our goal has always been for everybody to have great pictures to leave for the next generation. As someone who recently lost 4 family members, I am confident in the value of photos.
Thanks to Sandmarc for sending me this lens. I genuinely had a great time photographing with both lenses. If anybody is exploring the option of an attachment lens for your iPhone, give them a follow and see what they are about. And of course, let me know if you have any specific questions about iPhone photography. :)


