DIY iPhone Headshot
In this digital age, everybody needs a good headshot.
Do you remember the time when you saw what your doctor looks like when you saw their picture on their office wall? Well, in 2021, most of us have professional pictures somewhere on the internet, and most of us will be judged (consciously or unconsciously) by how we display ourselves. For example, I would be hesitant if a super high end real estate agent had a selfie of themself at the beach as their professional profile picture. If this is you, don’t worry because this article is here to help!
We all want a good picture but sometimes we can’t afford to get one taken professionally. Or maybe you aren’t looking for new work or clients and don’t really need a professional photo. We 100% understand. I wanted to write this article for those of you who are looking to upgrade your headshot but don’t want to or can’t have professional photos taken. There is surprisingly a lot you can do with just your phone! Do I think that an iPhone photo is going to be good enough for most professionals? No, but it might still level up your current profile photo. So, here is how you can DIY your next headshot with your iPhone. :)
Step 1: Find a big window and put a sheer curtain over it.
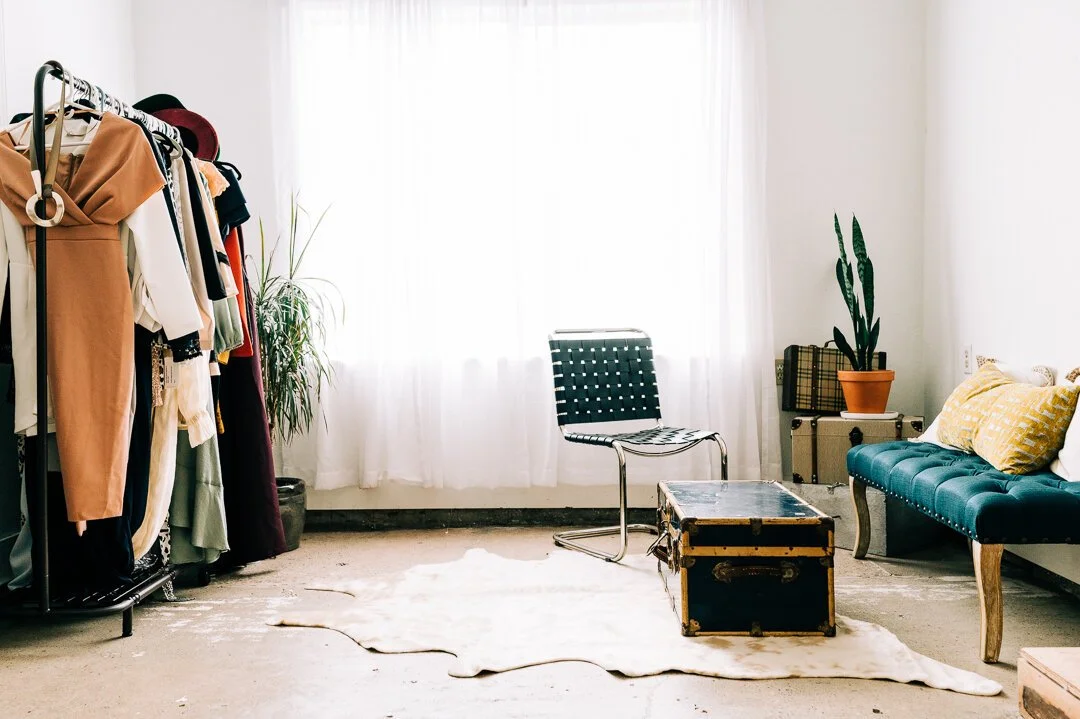
This is our next studio! (Yup, super small but you would be surprised at the photos we already took in this space!) Notice the big window with a sheer curtain in the middle. This diffuses the light coming from outside and makes a pleasing and flattering light in photos. Your window can be smaller than this - just find the biggest window you can and get that sheer curtain over it!
Step 2: Put your phone on a tripod or stabilize it on a table.
This is kind of important. I understand that not everybody has a tripod - in that case, ask a family member member or your trusty table to hold your phone. Make sure you are framing yourself decently so you don’t need to crop too much after you take your photos. (Not so wide that you need to zoom in quite a bit to even see your face, but not so tight that you cut off your head.)
Step 3: Pick a simple background.
For this photo, I picked a white wall. As a photographer, sometimes I get carried away with great locations and interesting backgrounds. However, since this is for a headshot, you don’t need an insanely interesting background unless you work in an artistic industry. If that’s the case, call us!
Step 4: Pose.
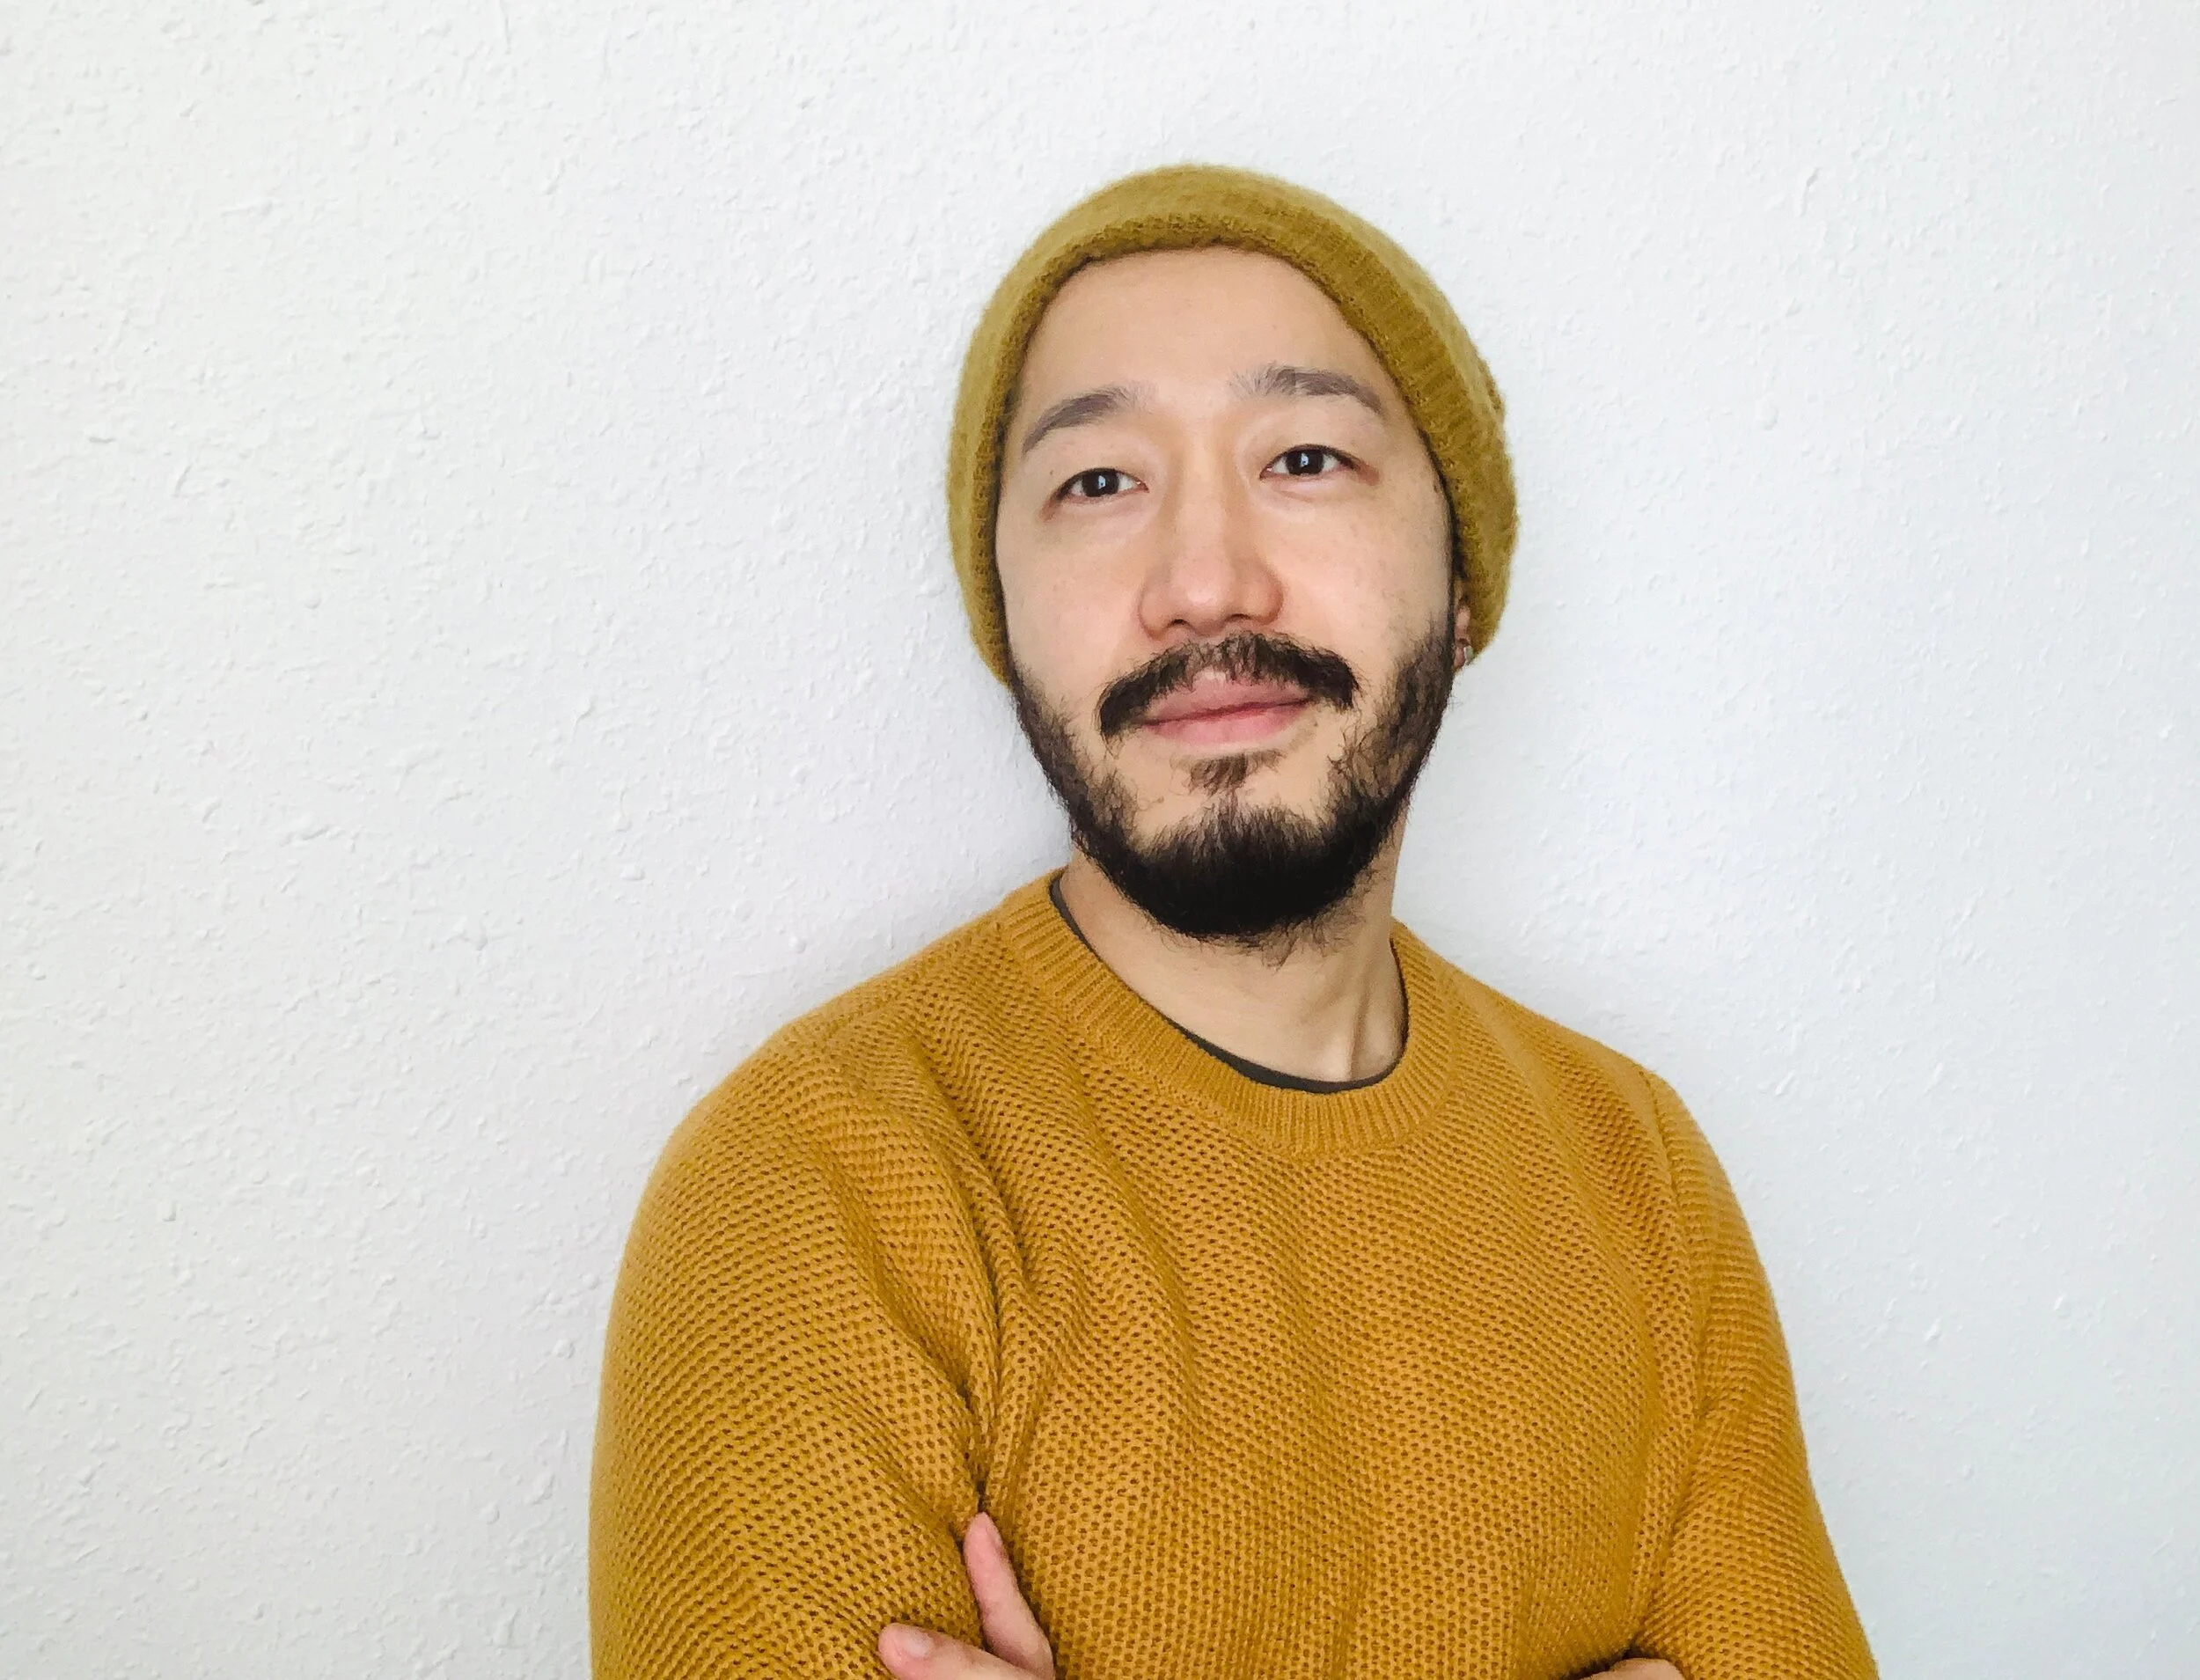
When you are taking photos, most people look better when they turn their body slightly to the side. I turned my body (see below) but kept my face looking straight into the window. This creates flat light. I don’t do this type of lighting often in our studio, but it eliminates a lot of unwanted shadows from your face. If you don’t know how to use Photoshop to edit, this is one of the best, most beginner-friendly ways to take your selfie headshot.
Step 5: Snap away.
I had my iPhone camera on timer mode and snapped this one. It wasn’t a very sunny day but the iPhone also seems to lean towards underexposed photos, so it came out a bit dark. You’ll see below what I did to process this photo, but the minimum you want to do is to change the brightness of the photo before putting it on your profile.
Step 6: Height matters.
So this is something I didn’t know when I started photography. When you are taking this kind of relaxed photo, you generally want to take it from slightly higher than your eye level so your jawline is more defined. (Be careful not to take it too high though, because your photo starts to distort when you go too high or too low.)
Step 7: Edit ever so slightly.
Subtlety is very important. Most professionals have tools to make colors more appealing and/or retouch skin to make you look the absolutely best version of yourself. However, since not everybody has access to those tools (or wants to spend time learning how to use them), I will show you how I edited this photo in a couple iPhone apps. I don’t do any skin retouch or complicated color correction here. Remember, it’s way too easy to overdo it and ruin the photo. A good place to stop is before you even notice the editing. That will make your photo look realistic and unedited (even though it is). It’s not an artistic photo we are trying to create here, we are trying to create a warm and inviting headshot for professional needs.
The first five screenshots below show how I edited in the native iPhone application.
In the final screenshot, you’ll see that I used the free “Lens Distortions” app for this photo. (I did not receive any money or incentive for this, I just like it.) It’s a really cool app that allows you to add light leaks to any photo. In the screenshot above, I show what the light leak looks like at 50 so you can see the effect, but I ended up bringing down the opacity to something like 20. This is not a necessary step by any means but if you feel fancy, try it and see if you like it.
Step 8: Upload your photo to your online profiles.
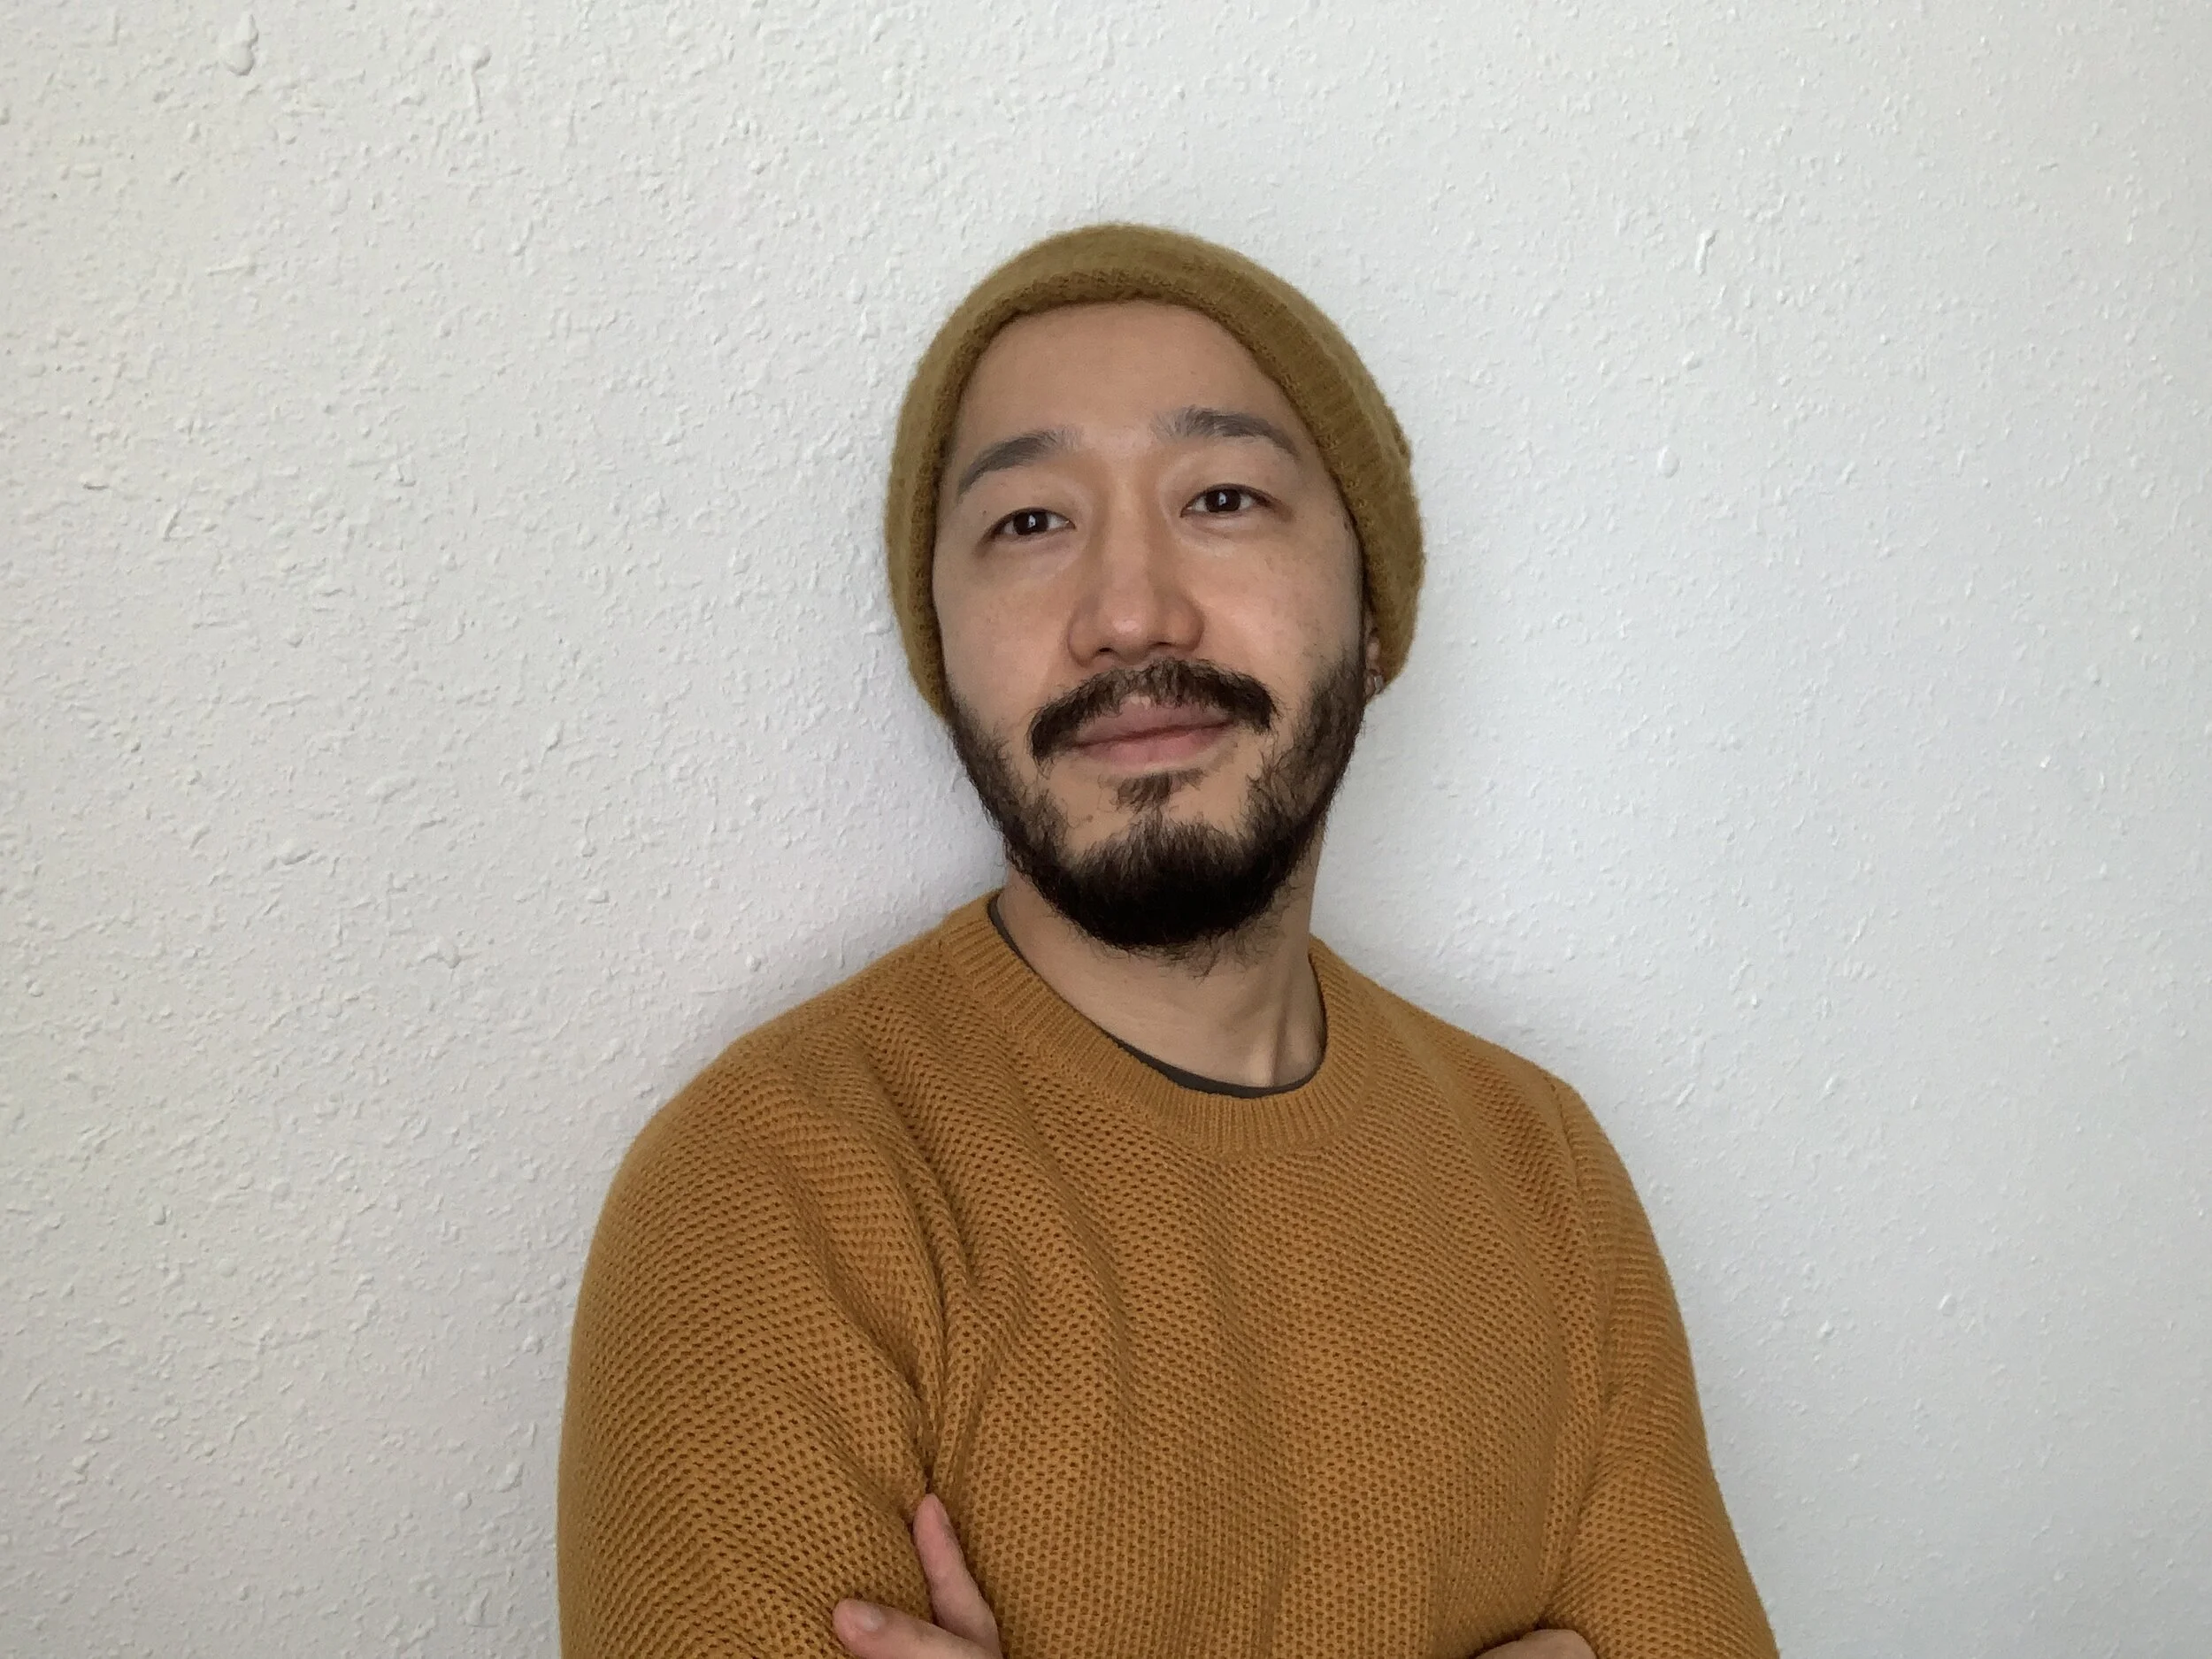
This is the photo I ended with. Again, this does not replace a professional headshot. There is a reason photographers get the necessary gear, educate ourselves, and practice a ton. However, we understand that there are a lot of reasons why this might not be the best time to make a trip to studio. If you are not able to get a professional headshot, I hope this helps you. :)
If this blog helps you at all or if you do something differently, send me a photo of your DIY headshot. We would love to see you guys!


